Riveting fuselage bottom
Instead of turning around the fuselage, we decided to rivet it from “down under”. We put it on some sawhorses and then had a good training session with long …
Building our airplane
Instead of turning around the fuselage, we decided to rivet it from “down under”. We put it on some sawhorses and then had a good training session with long …
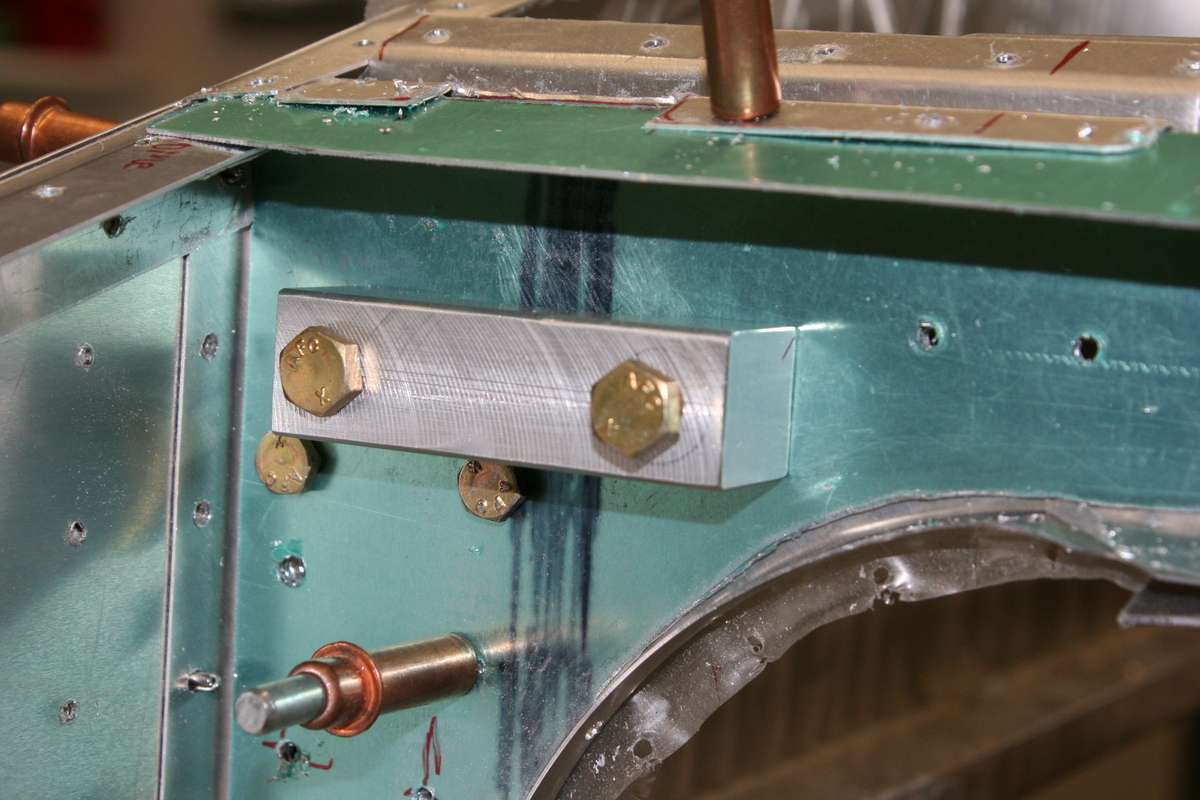
This is a detailed photo of one of the fixing points for the parachute. Every point has to be able to withstand a force of 5G.The upper bolts will …
We had to move into our garage at this time to do the final riveting of the tailcone. Finalizing in the basement would not be a good idea, we …
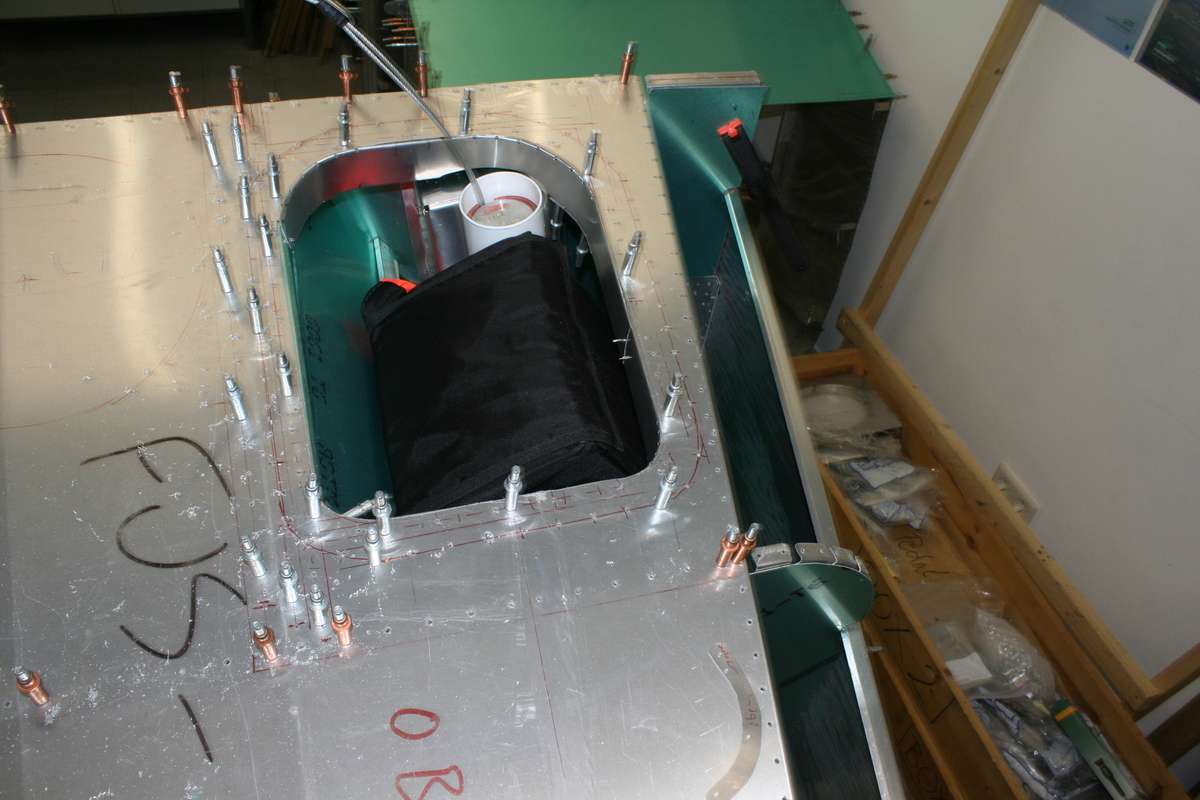
The photo shows the recovery system as seen from above. The hole in the tailcone will later be covered by a 0.020 Aluminum plate. Due to the hole …

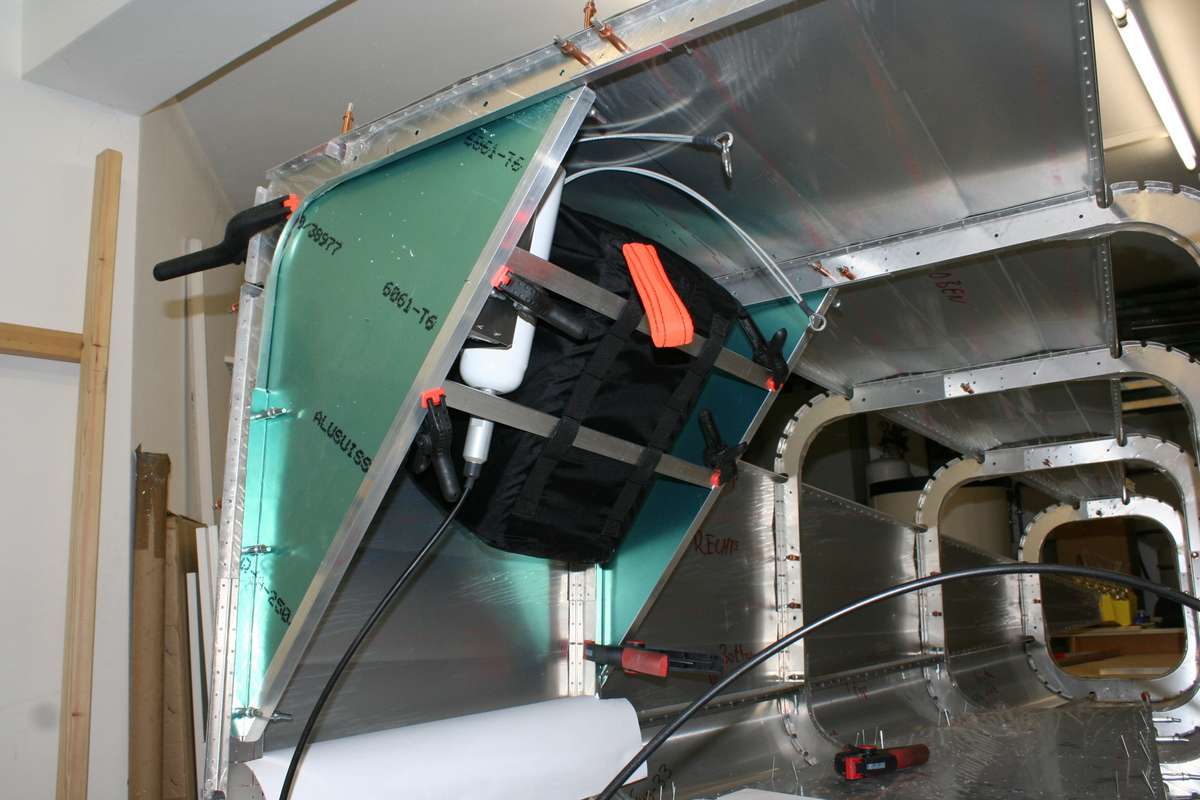
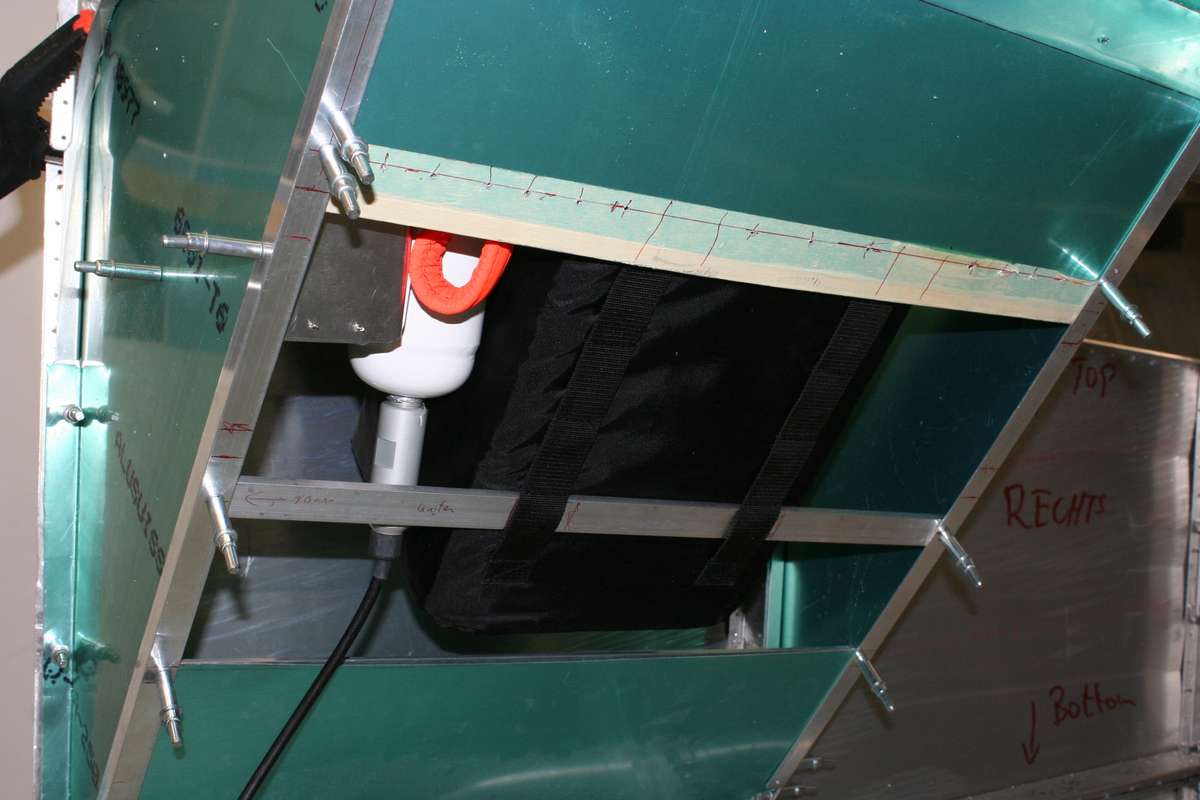
For safety reasons we decided to install a ballistic recovery system. This picture shows our own construction how to fix it in the tailcone. The white cylinder is the …
Although not required in the manual. I decided to fabricate this doubler to prohibit the “eyebrows” (front top window) from cracking. I used 0.040 Aluminum, probably a bit oversized, but …
To drill the holes in the cabin bottom, we put the cabin on the floor and turned it upside down. It is a lot easier to drill those approx. 1000 …
The cabin top was missing in my kit. So I fabricated it by myself from 0.0.20 Aluminum.
The firewall made from stainless steel is installed and drilled here. Grey adhesive tape is at this step a useful tool to put and hold the parts in place.
These cabin channels are a nightmare for probably every builder. You have to measure, cut and install every single of these. Furthermore every channel needs two angles at …
We installed a double floor in the tailcone. Not required by the kit, but thus more place for luggage and nice place in future to be able …
We installed the rear float attach points. In Germany we will probably never have a need to install floats (for water landings/starts). But who knows, maybe some time …
A shrinker/stretcher is needed for some parts in the fuselage.
FUS-30 in the rear is a tricky part to install. Especially since we decided to install a 0.032 doubler. Adhesive tape (“Panzerband”) is essential for this task.
This probably happens to every builder. From time to time you are drilling your finger. The small drills (#40 = 2,5 mm) drill into your fingers fairly easy. Up to …
This bulkheads form the tailcone. Some more aluminum sheet and some rivets and that’s nearly an airplane.
An important milestone is reached! Both wings are finalized and waiting in the wingstand for future installation. You can see plastic tubes (normally used by electricians) in the middle of …