Wing Fairings
Fabricating the wing fairings was a time consuming job. Lots of checking and reshaping. Due to the ballistic recovery system harness at the front wing connection it has to be …
Building our airplane
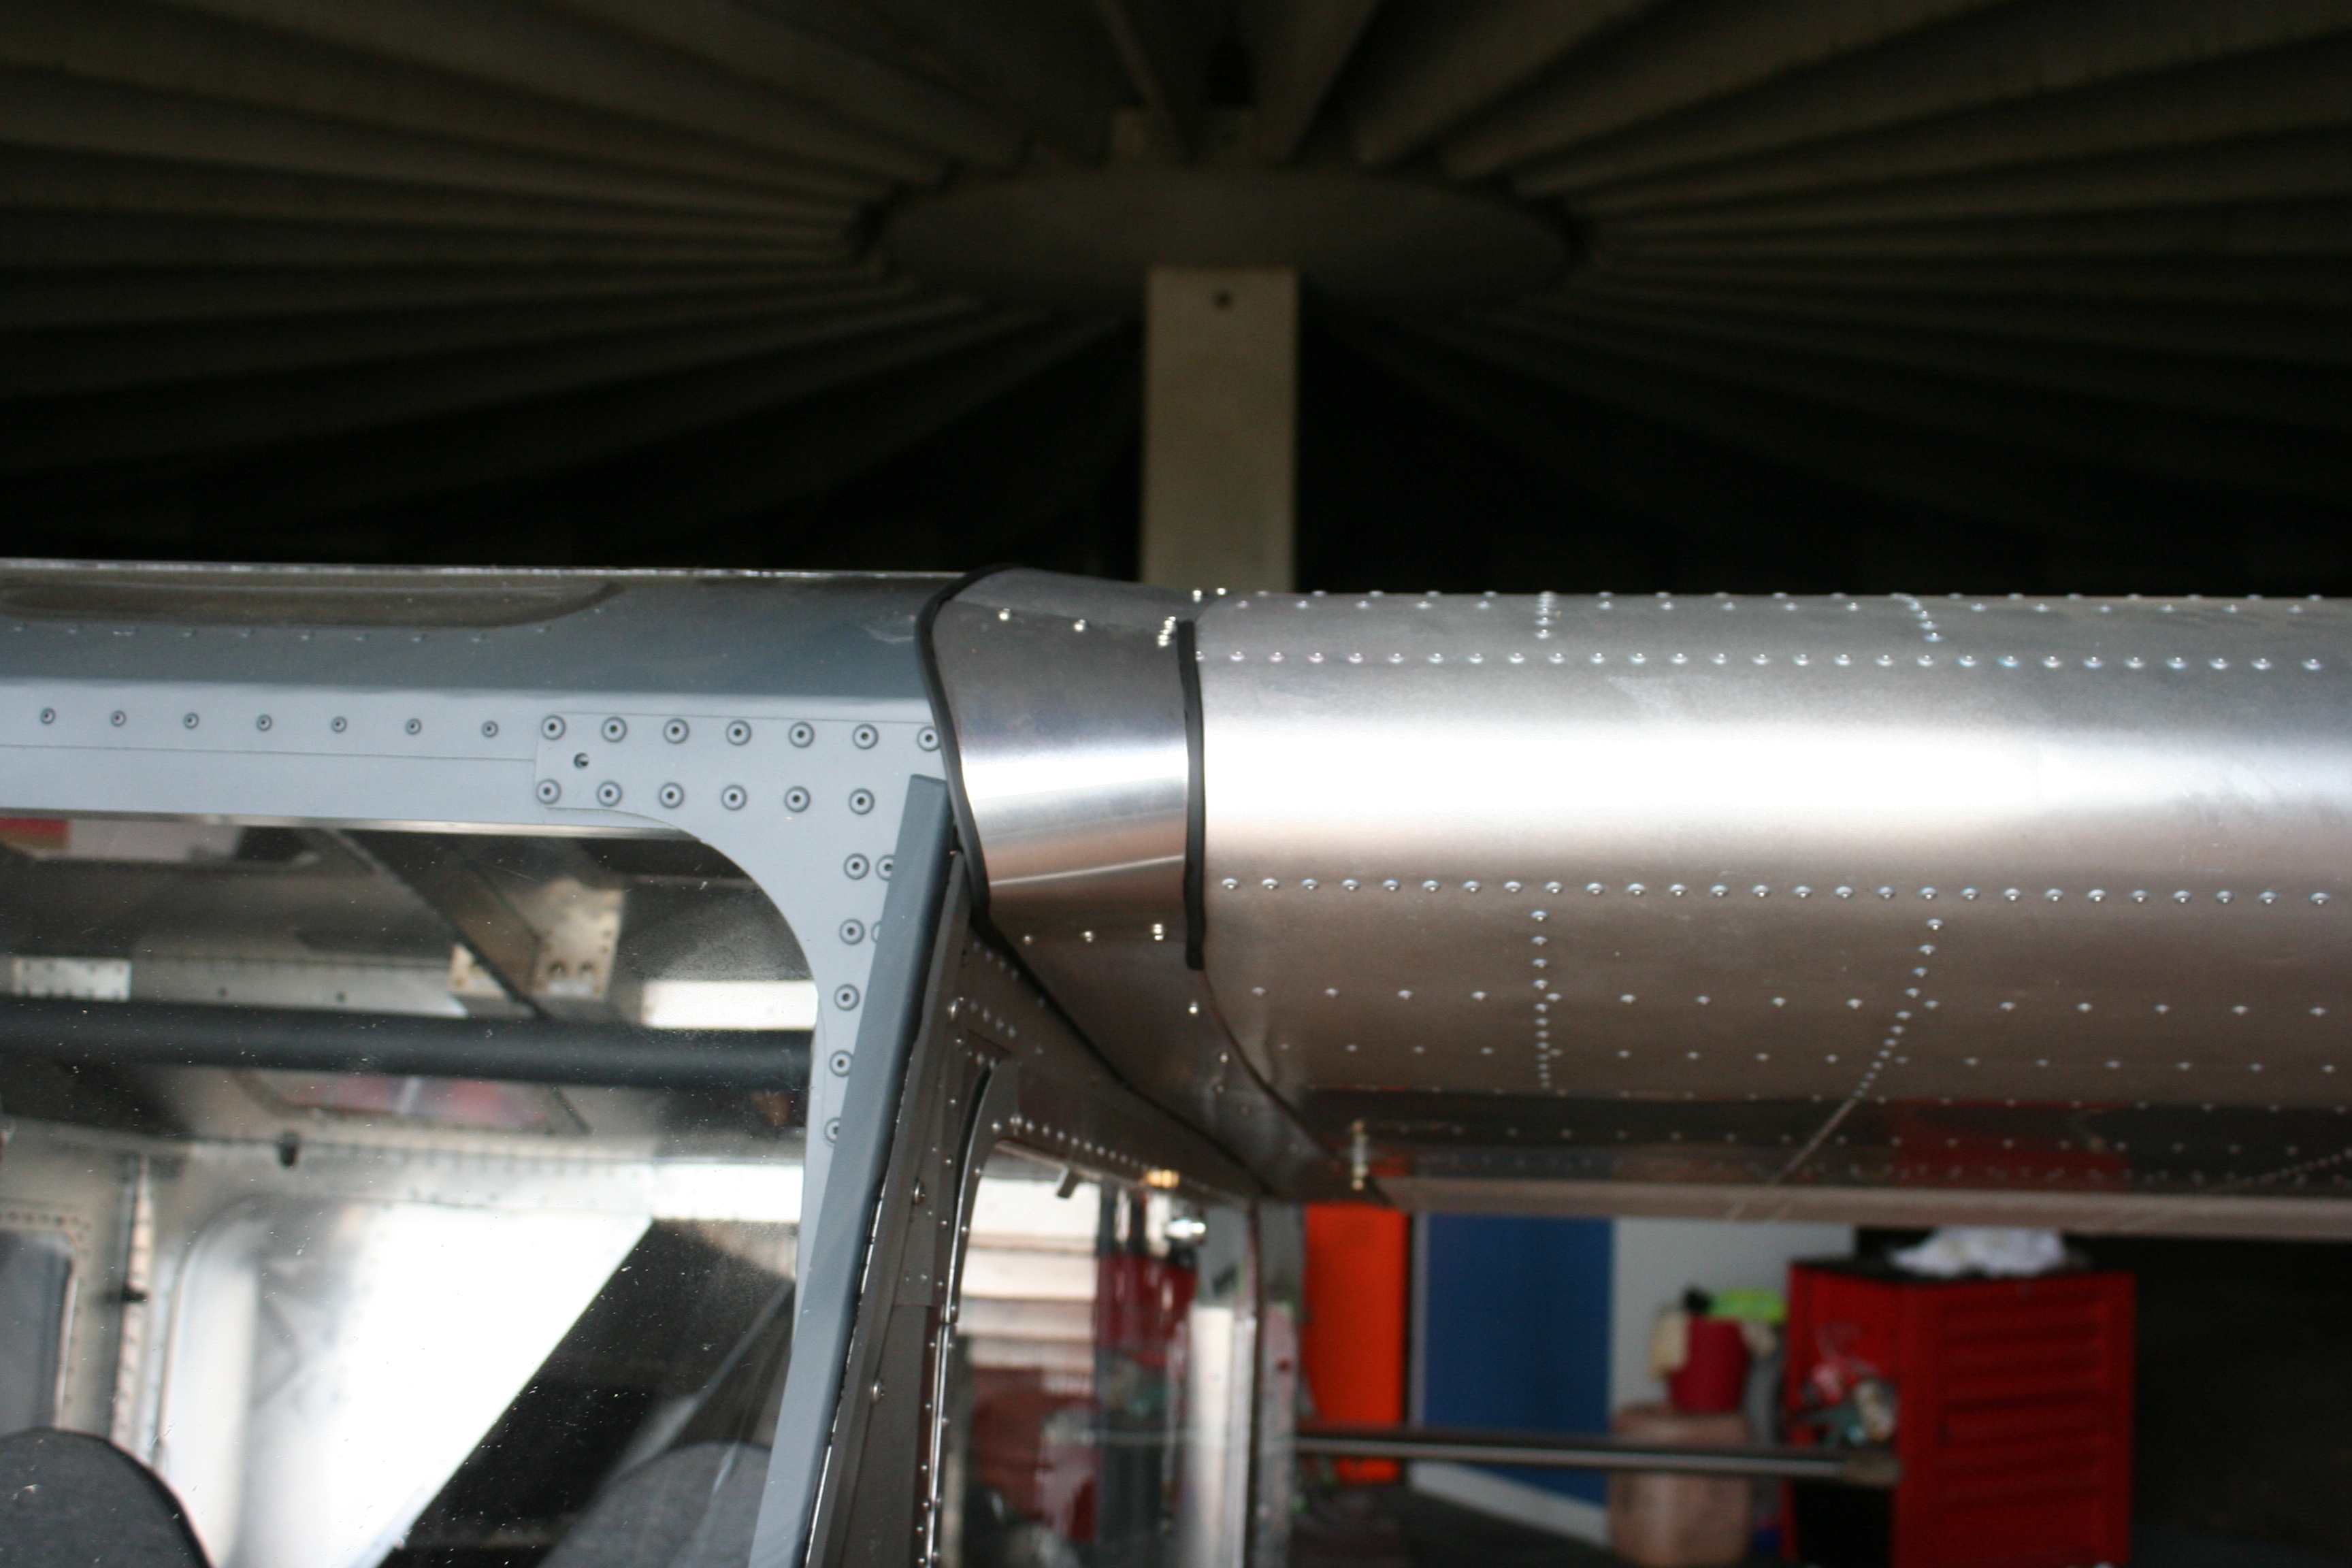
Fabricating the wing fairings was a time consuming job. Lots of checking and reshaping. Due to the ballistic recovery system harness at the front wing connection it has to be …
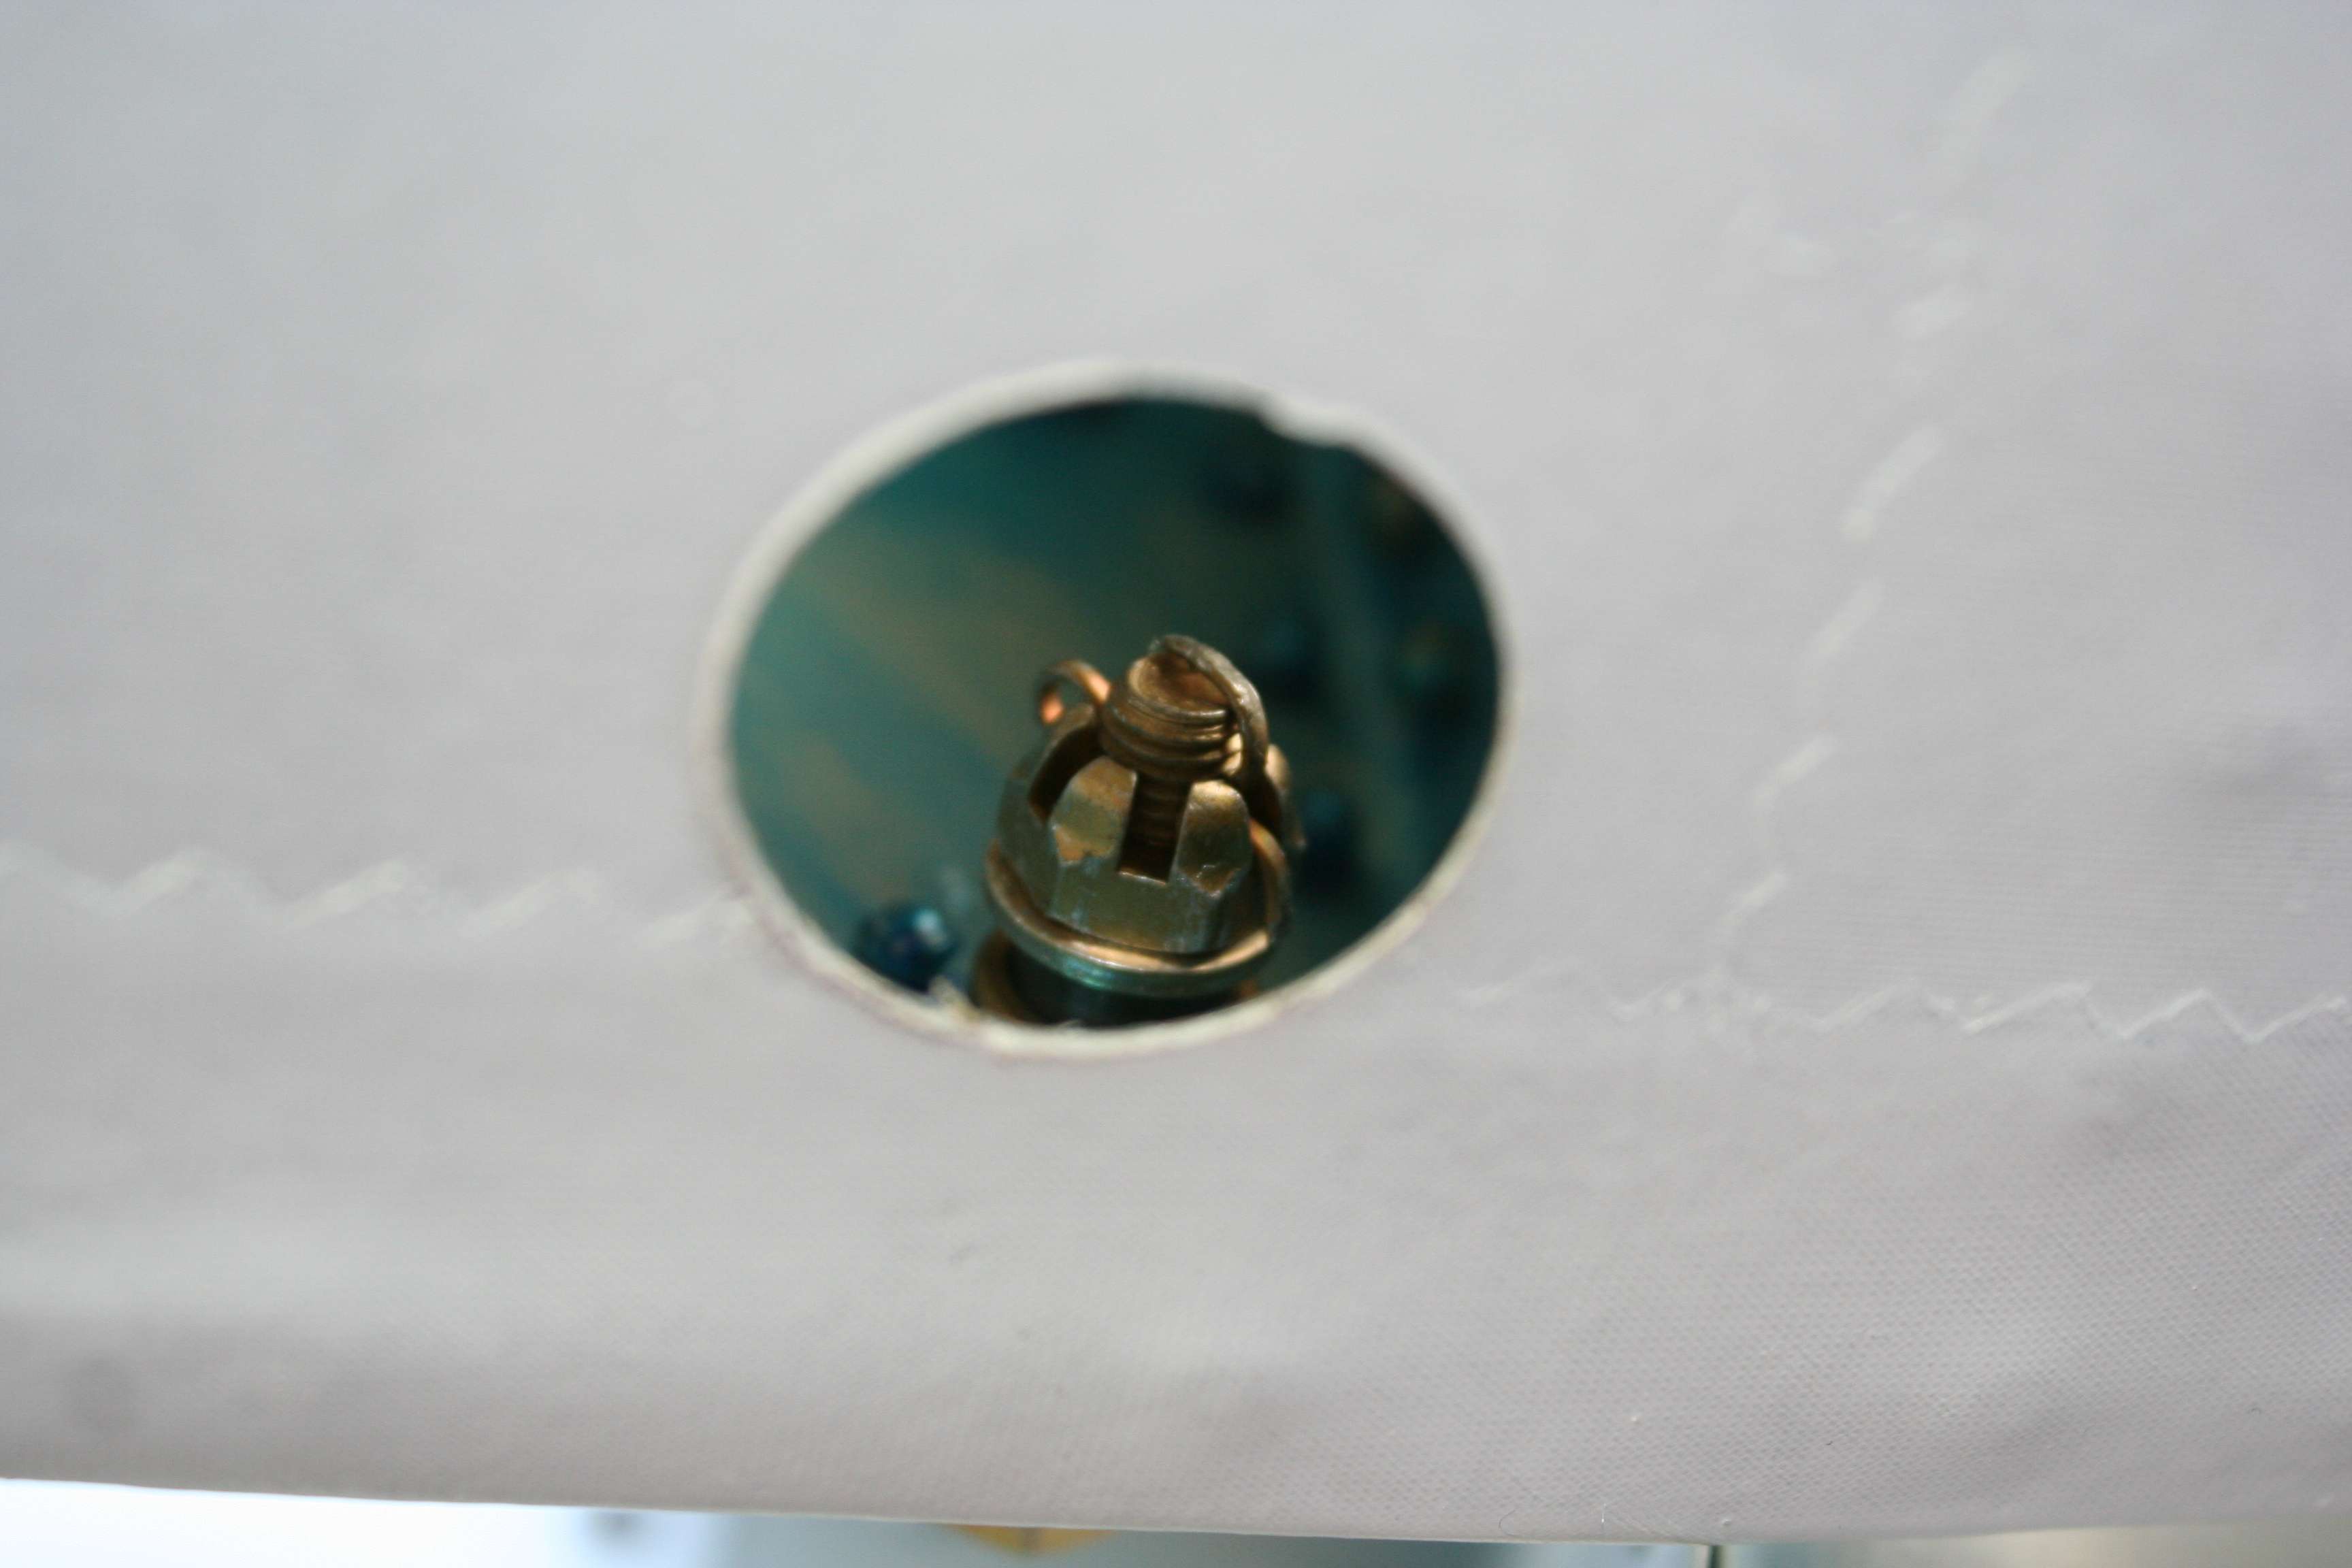
Inside the ailerons the screws need to be secured via cotter pins. This is really a painful job. The size of the opening is one inch and the nut is …
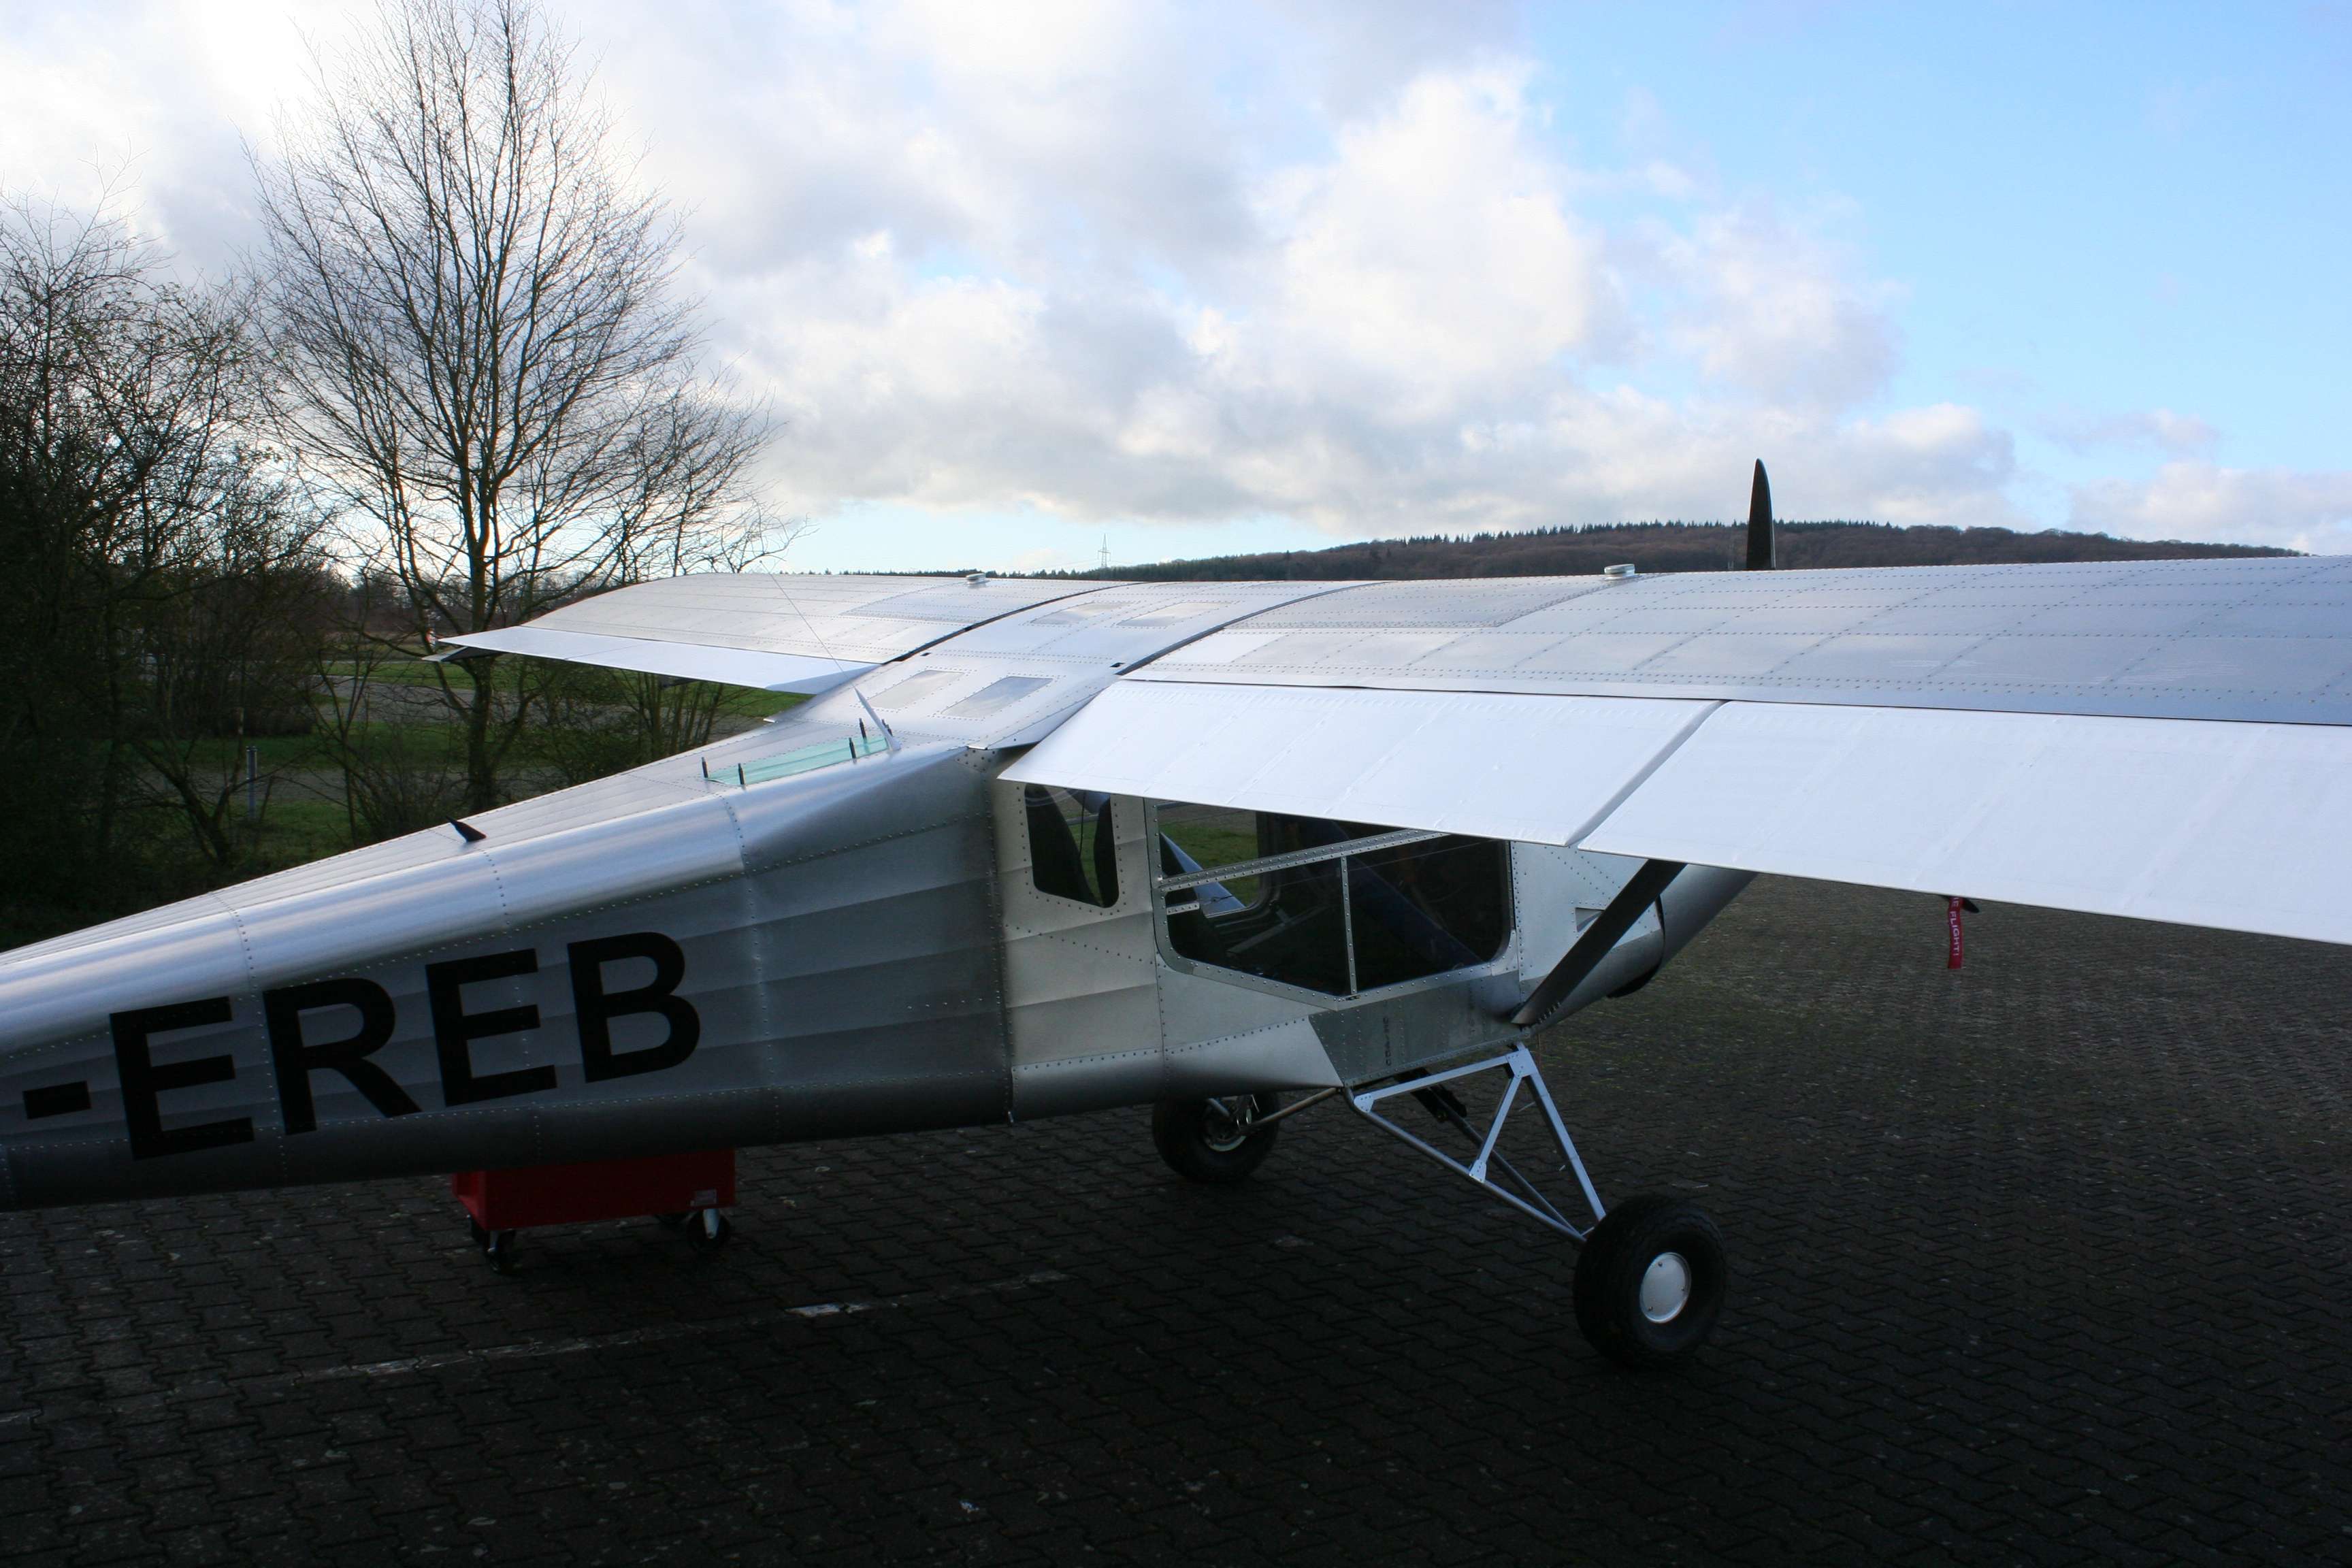
Picture shows the flaperons in the Full Flaps down position. Again I got a deflection in the suggested range from Murphy (15 degrees or 3 inches). Looks really great when …
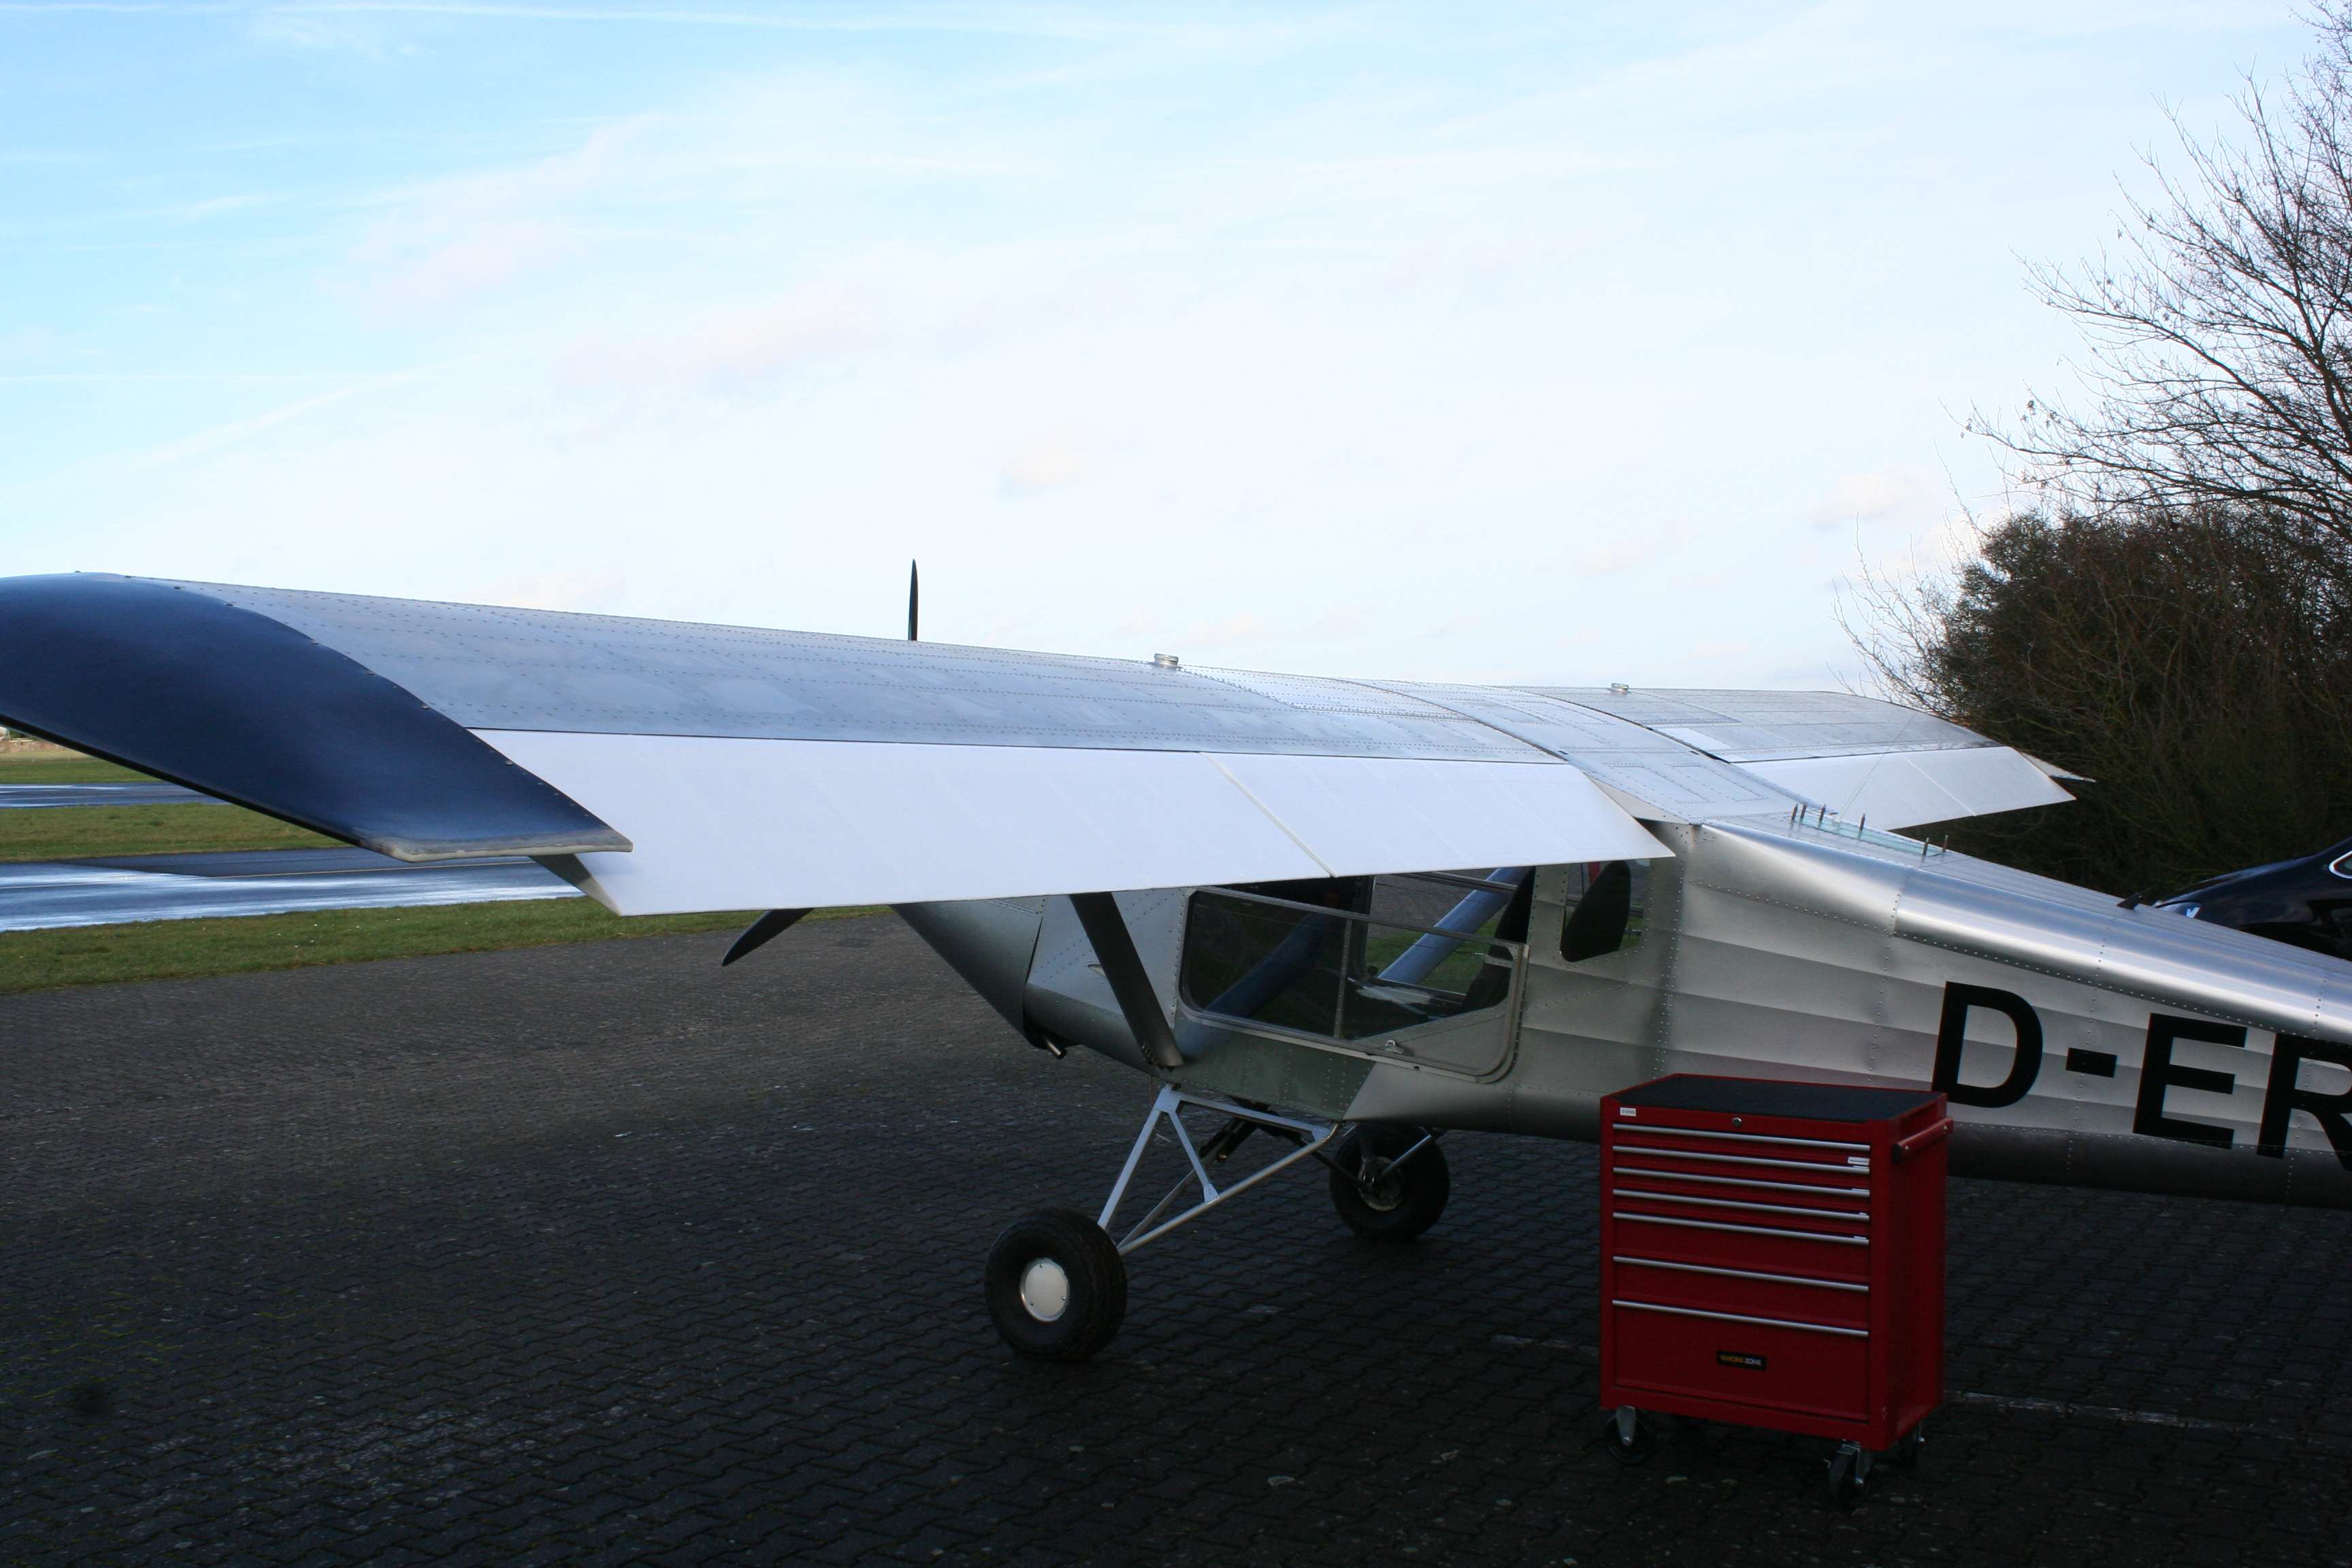
Picture shows the flaperon deflections. The deflections are in the range as suggested by Murphy. I measured 3.5 inches up and 3 inches down.
Flaps have been mounted these days. Now the rebel is in principle ready to fly. Of course some fairings are missing. But before we can do the first flight there …
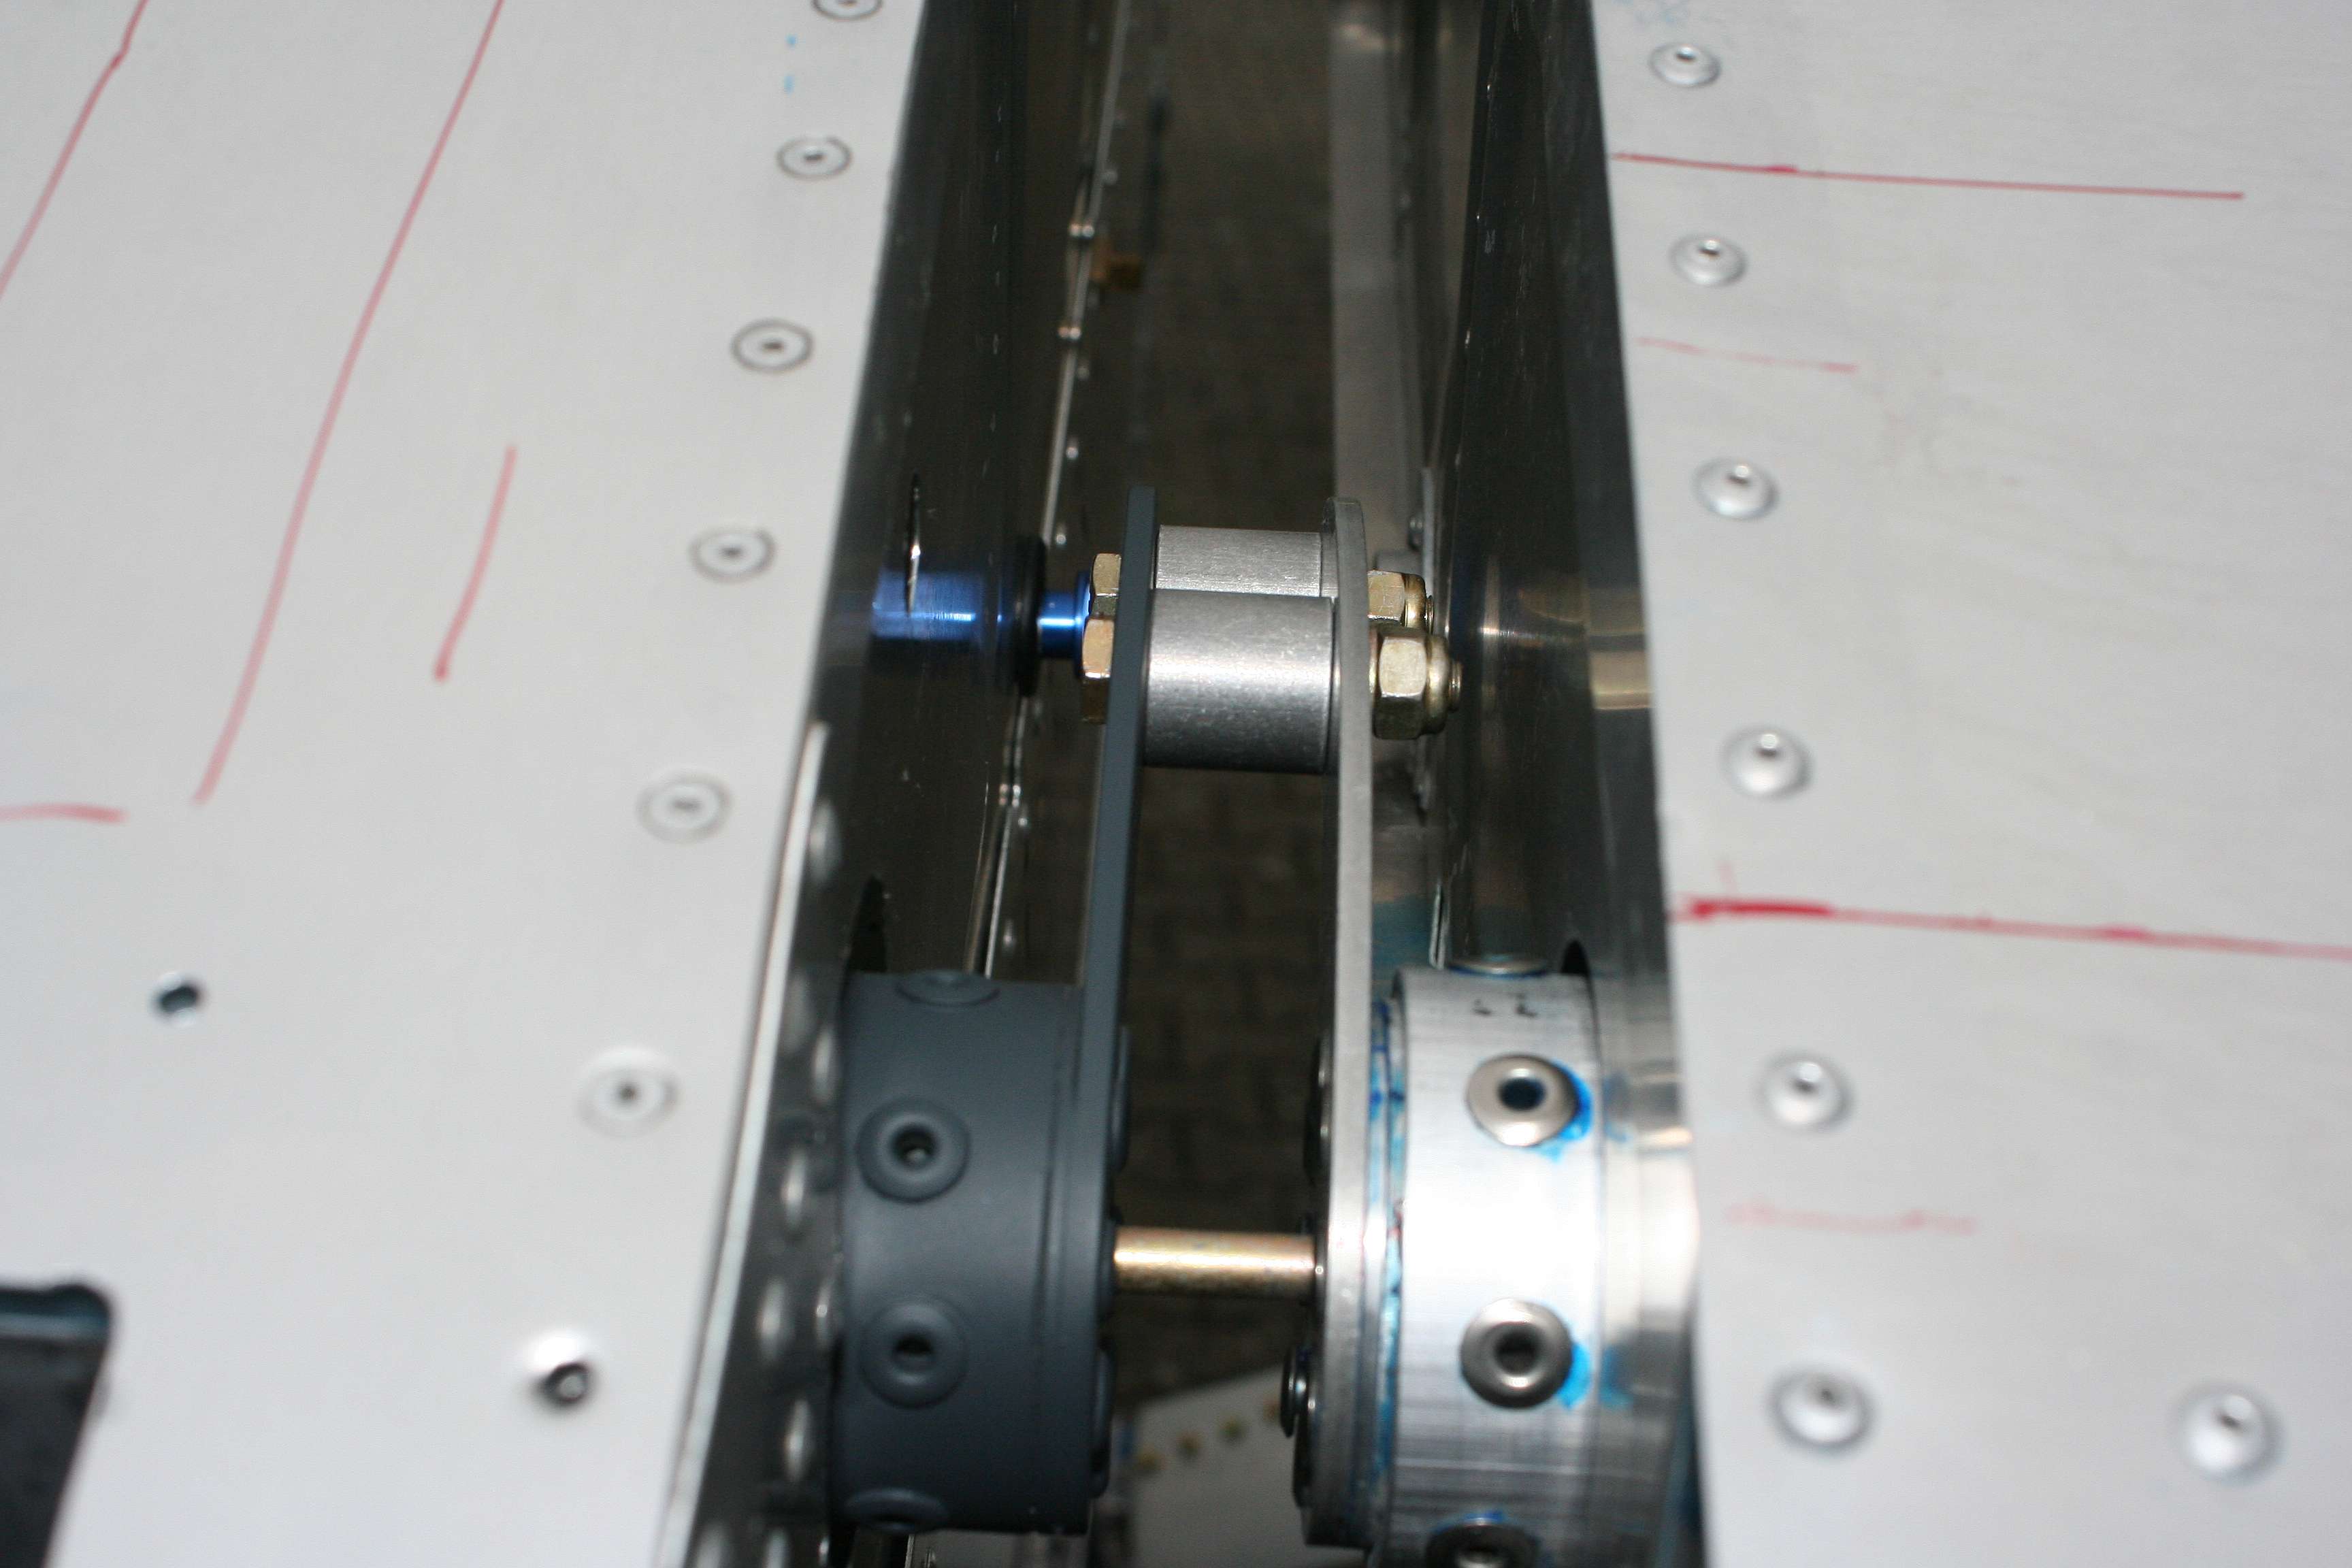
Here you can see the connections between the fuselage tube and the torque tube inside the wings. Via this connection the steering commands are transferred into the wings. As nearly …
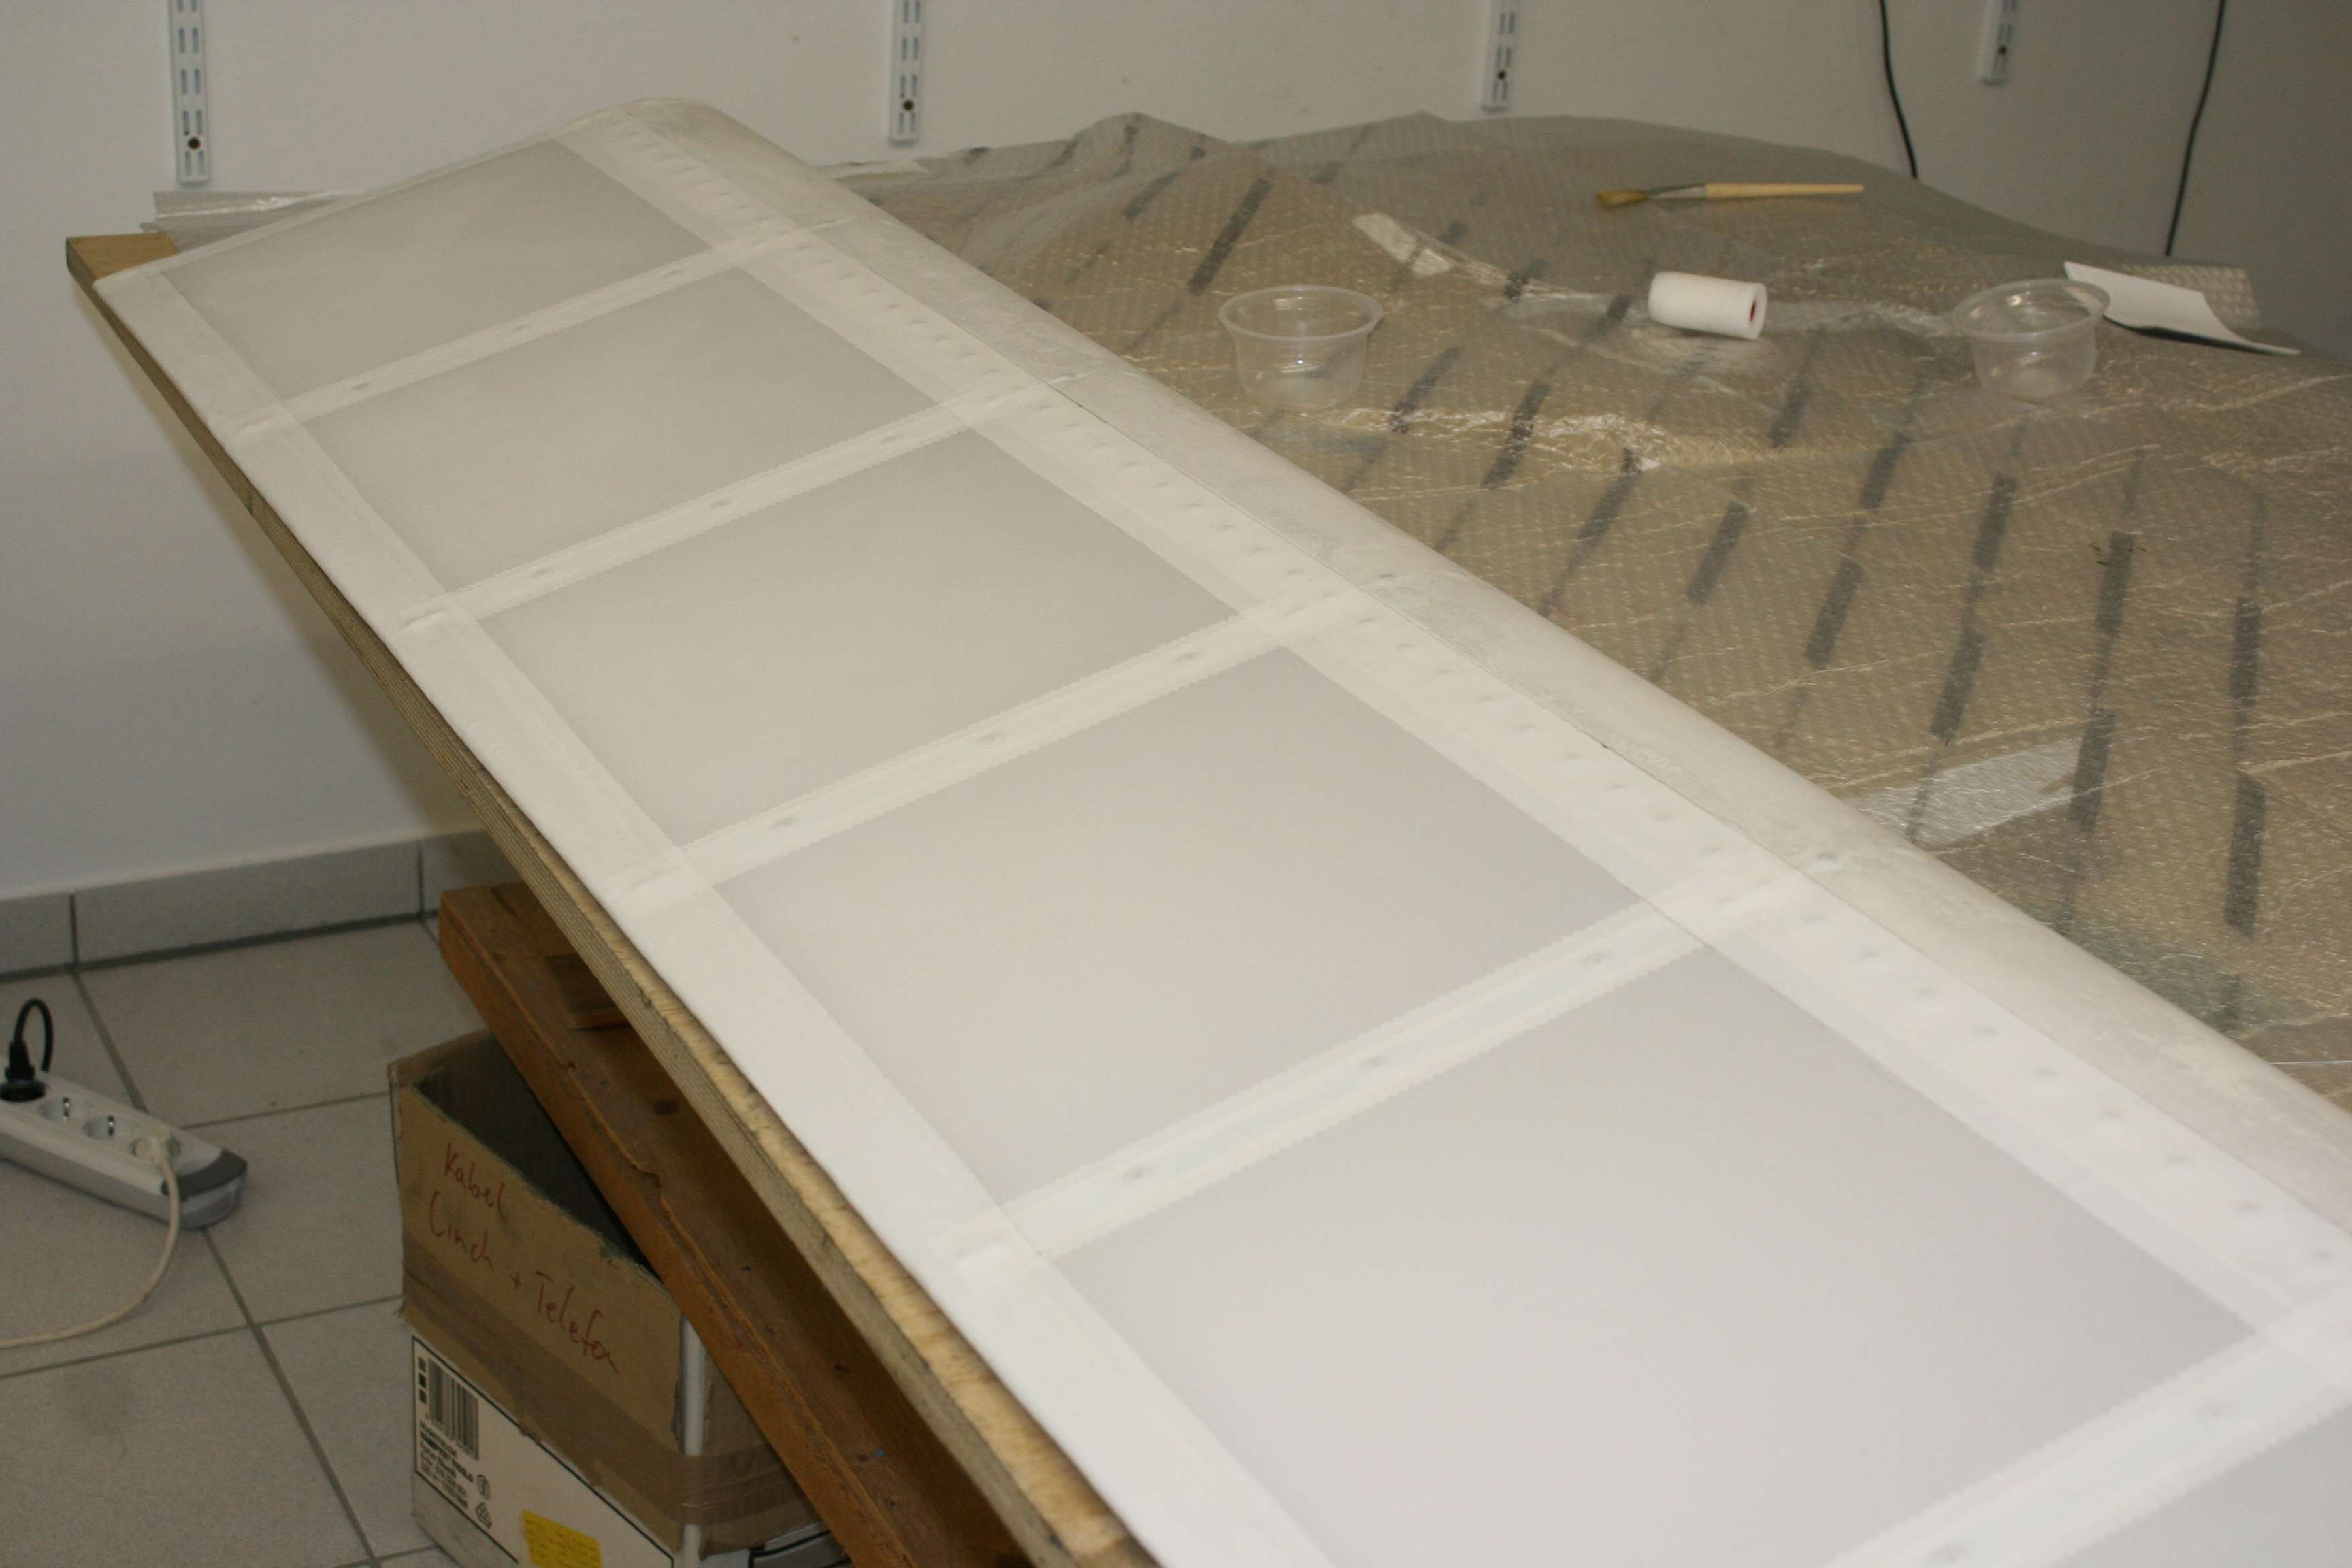
Although the ailerons were the first parts to build, I waited with the covering until now. So it is one of the final steps, but its time to do this. …
I installed a second landing light at the left wing. The picture shows the finalized installation at the end of the wing, just in front of the wing tips. The …
The installation of the right landing light is done. I fixed the plexi with rivets and sealed it with Sikaflex 295uv.
This picture shows the installation of the landing light inside the wing. The lights I used was an inexpensive part (29 Euro). It contains a high power led and provides …
The plexiglas front of the landing light needs to be bend to match the wing shape. I prepared a special moulded part from wood. Putting the plexiglas into the oven …
I was not sure how to install landing lights. My first idea was to put it into the tips. But after some consideration I decided to install it at the …
The picture shows the epoxy system we used, all from R&G Faserverbundstoffe. Good stuff, probably much better than necessary for the simple, unstructural parts we had to make.
We acquired Nav/Strobe/Pos Lights from AveoEngineering. Great lights. No additional box required, no shielding of the cables necessary. The seem undestroyable and come with a lifetime warranty. With the epoxied …
To fix the stobe/position/nav lights at the tips we need to do some epoxy work. Resin with micro-ballons worked well. After sanding a nice fixing plate for the lights is …
In the end we had a nice wing tip end. Ready for priming and painting. Since we will mount the tips with screws, it is possible to remove them, so …
Last layer of the fibre glass work is a special peel off fabric. It gives a nice finish and prevents from sanding the otherwise waxy surface.
Second step is to lay fibre glass on the end. We used 3 layers of light fibre glass and gave special attention to get nice rounded corners.
First step of the fibre work at the wing tip is filling the gap with epoxy mixed with micro-ballons.
The lower end of the wing tip needs to be trimmed and glued together with epoxy resin. First picture shows the unglued end with a wooden stick inserted to get …
Wing Tip is installed on right wing. The quality of the wing tip is much better compared to the rudder/elevator tips. Not much to rework. Only modifications I have …
The crane was very helpful putting the wing into the right position. He is lifting very slowly and so it much easier to align the 1 degree dihedral.
The left strut is cut and put in place. I am happy that everything is in the right length. Doing an error here would be bad. Getting another strut would …
A detail of the back fitting. One 1/4 bolt which holds everything together.
These pictures show the front wing fitting in detail. As you can see in the second picture, there is a gap between the fittings and the fuselage attach points. …
The right wing is mounted. The right side was much easier, perfect fit. The holes where all aligned. So from the right to the left wing tip I have …
The wings need to have 1 degree dihedral. My electronic level again helped a lot. Everything is perfectly in place now, the strut comes next.
Today I started mounting the wings. Left wing was first. I constructed two scaffolds, where we put the wing on. The crane was used as safety measure. I knew …
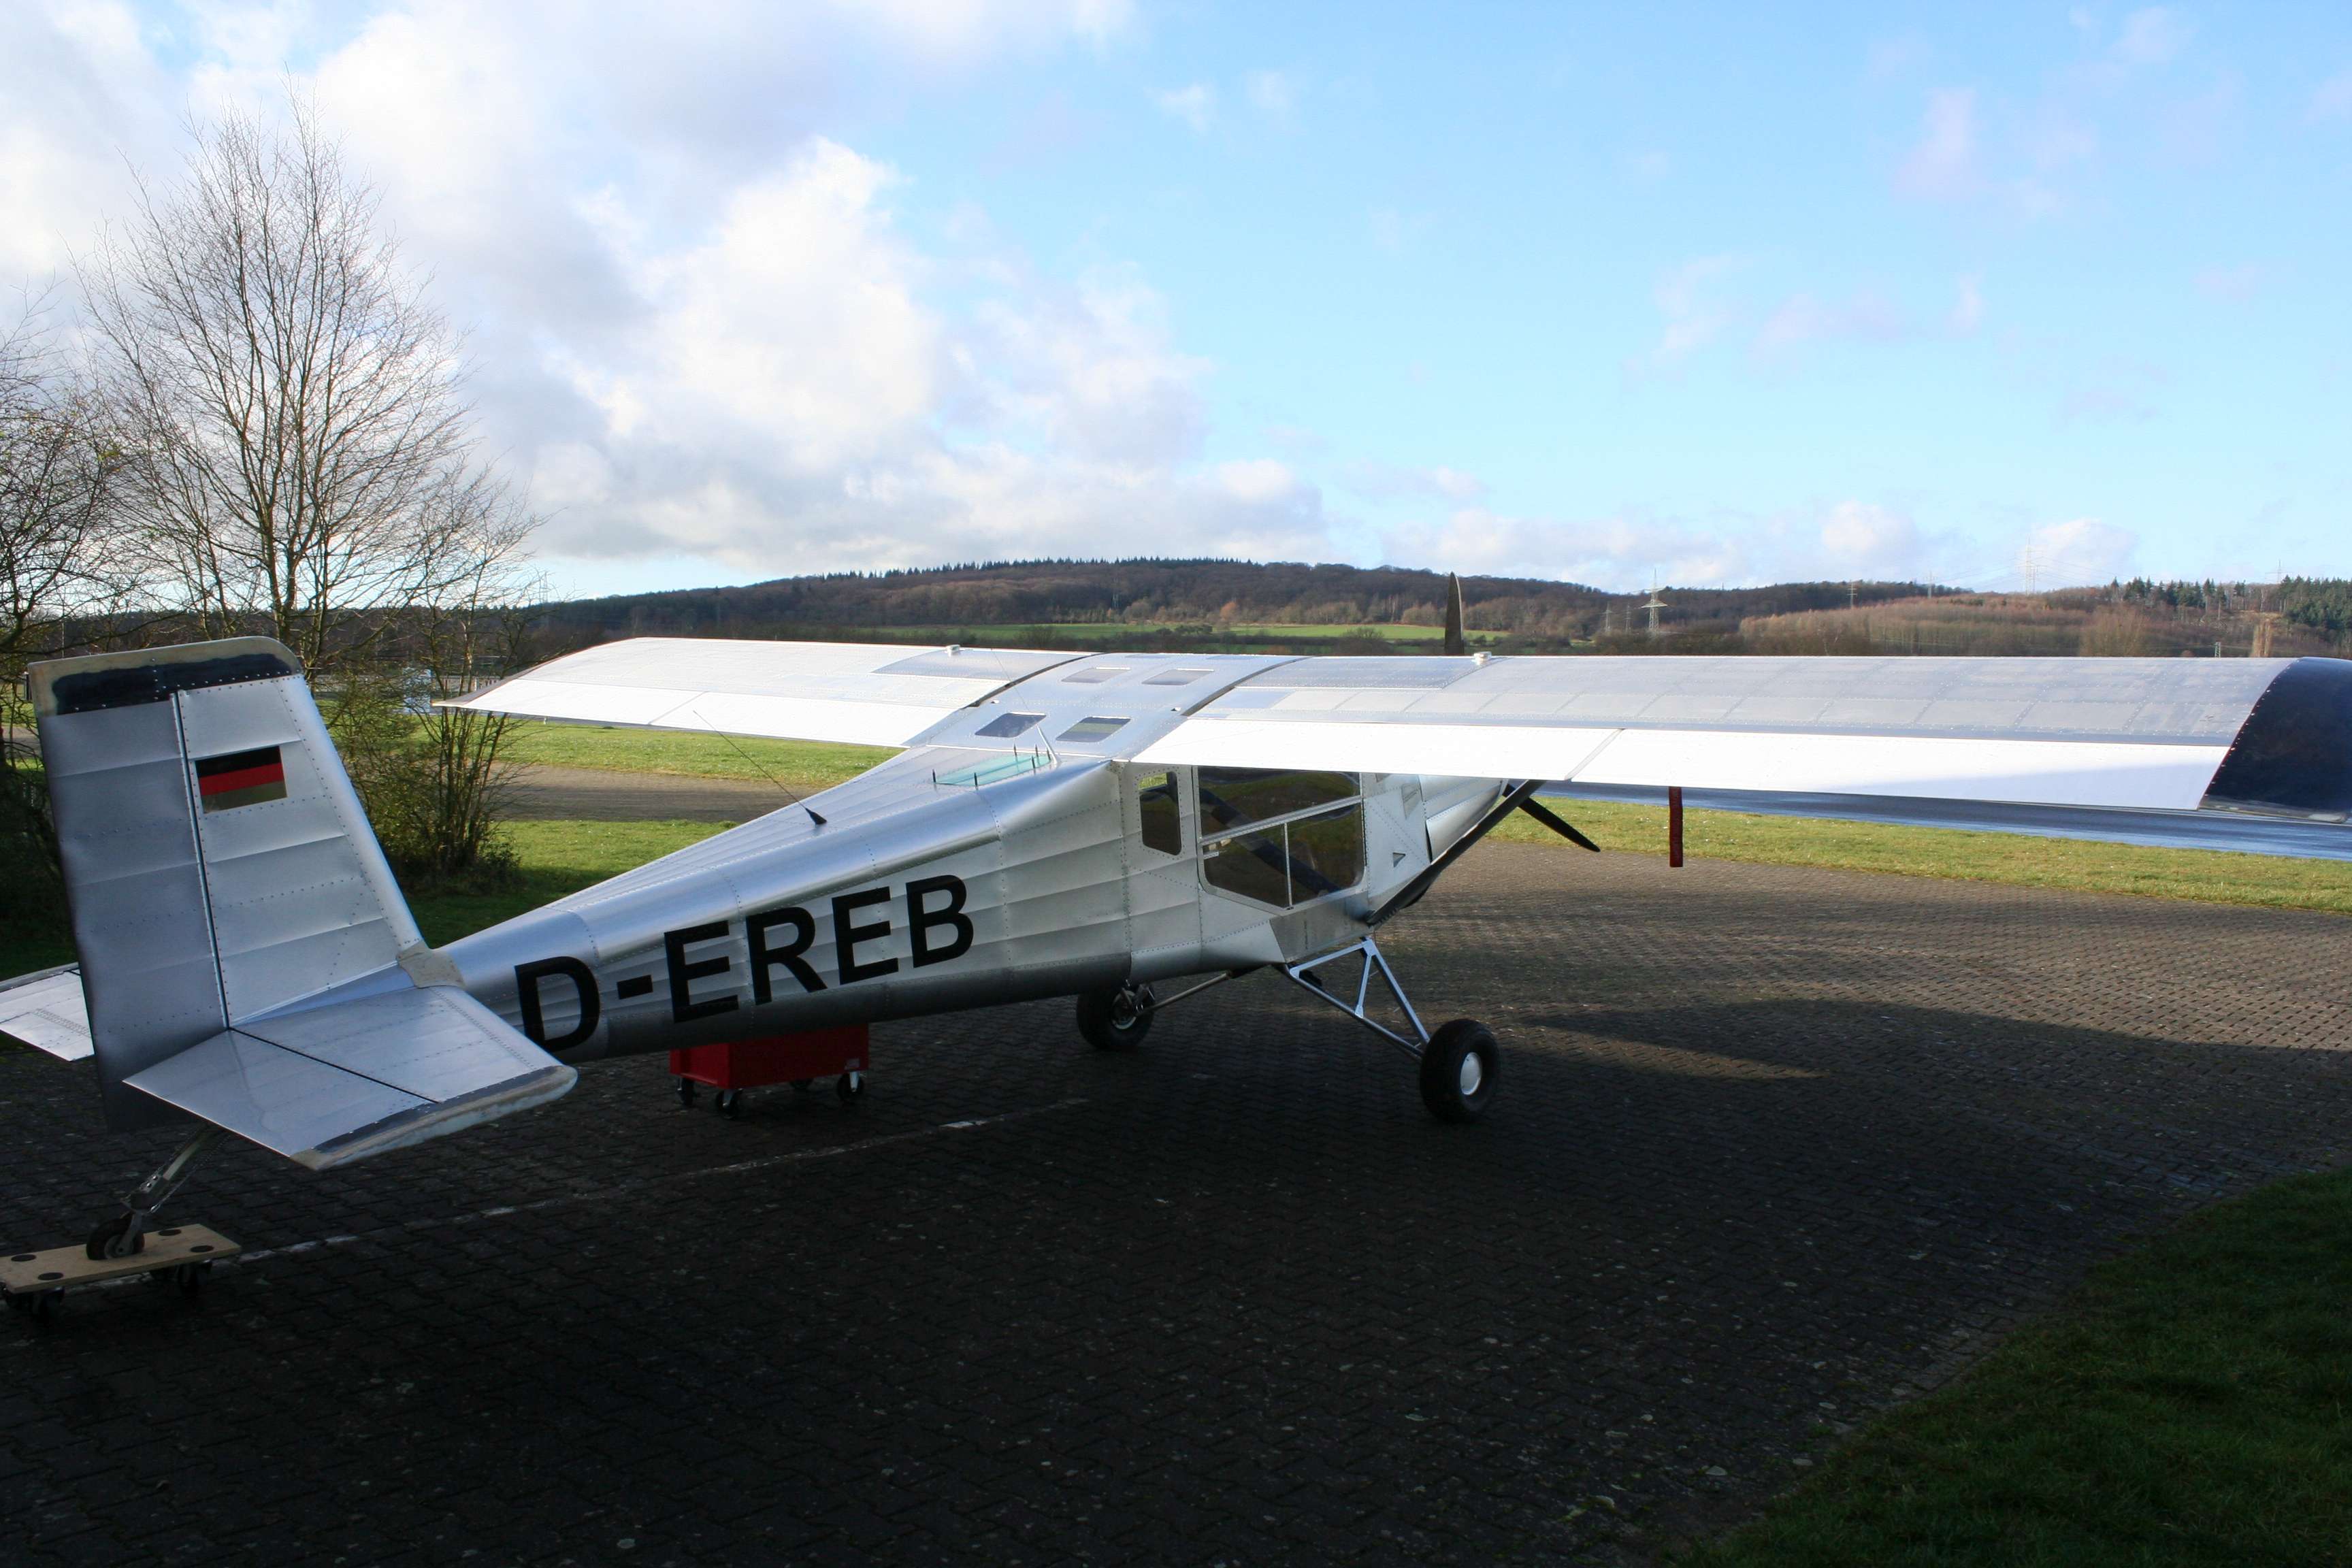
An important milestone is reached! Both wings are finalized and waiting in the wingstand for future installation. You can see plastic tubes (normally used by electricians) in the middle of …