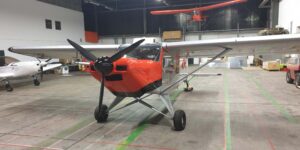
Paint Job Done
Together with some expert friends we painted the Rebel. It was a lot of work to prepare the already “used” surfaces. We used Aluminum wash primer, base filler, 2K color …
Building our airplane
Together with some expert friends we painted the Rebel. It was a lot of work to prepare the already “used” surfaces. We used Aluminum wash primer, base filler, 2K color …
Due to incompatibilites of my old wordpress layout with the new versions, I had to switch to a new theme. All info is still there, it will take some time …
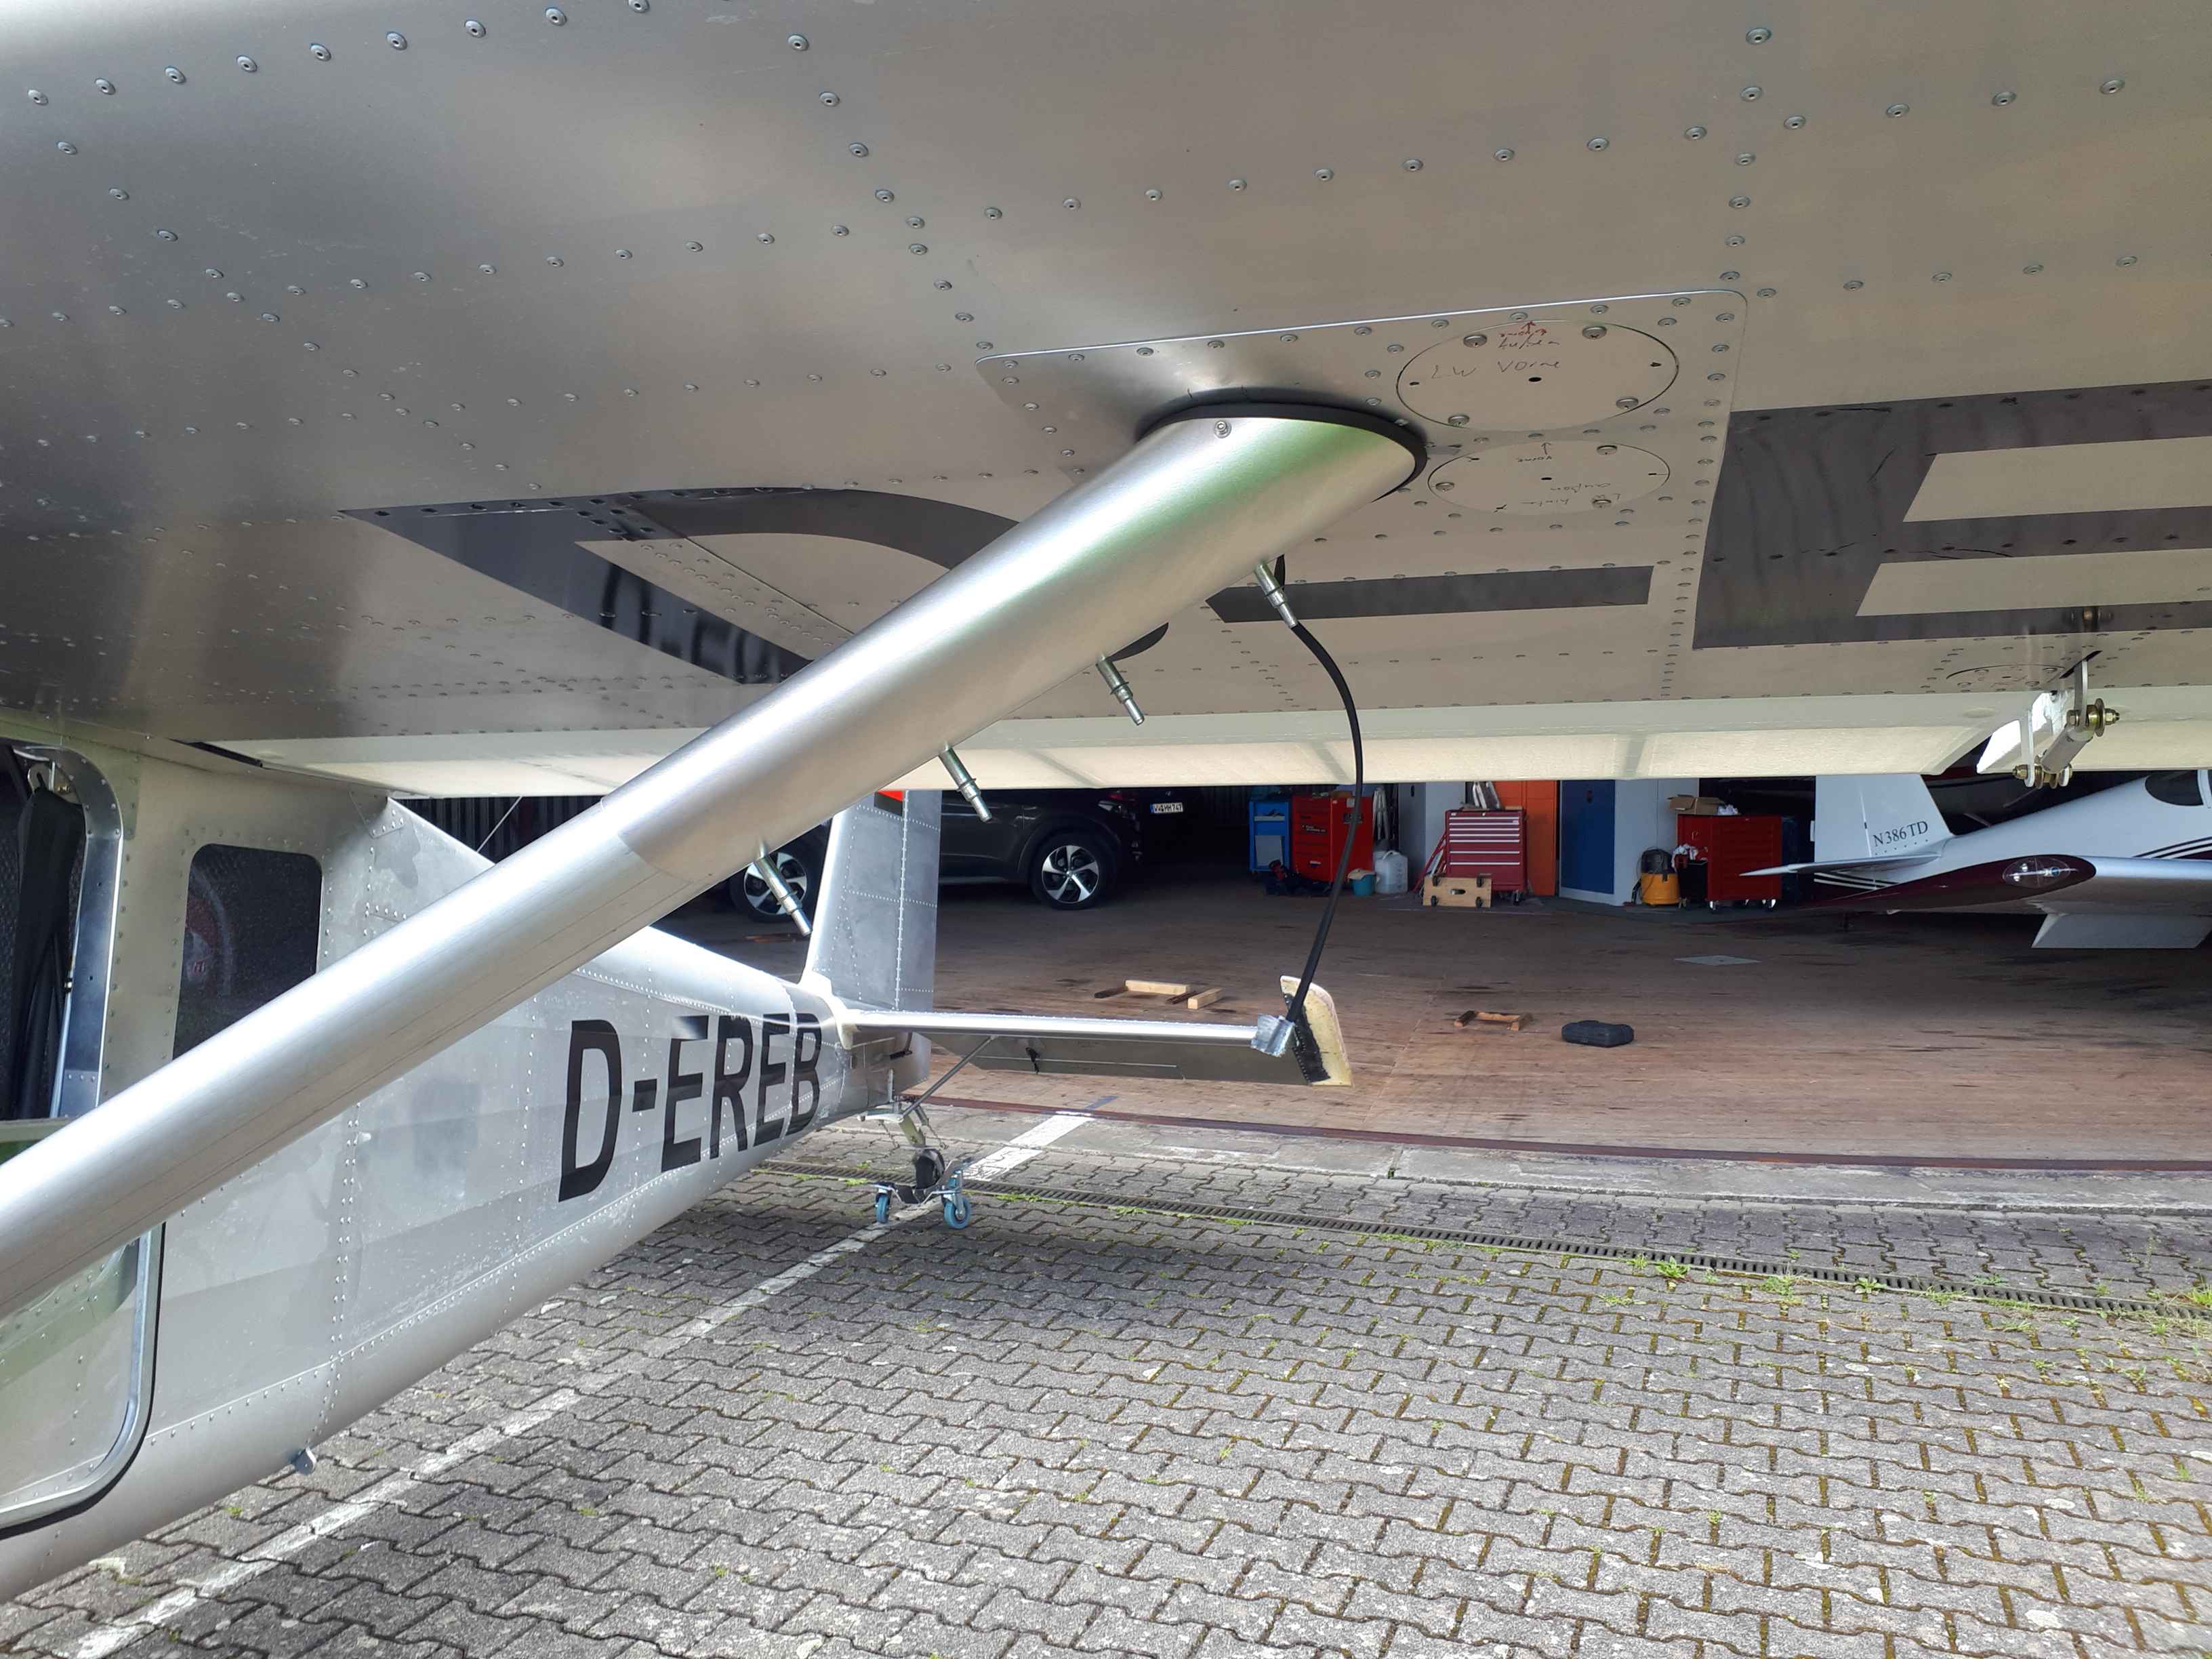
In the meantime I also made the strut fairings. They are fabricated from 0.015″ aluminum as per the manual. Getting them in a proper shape is a lot of work. …
Long time no post! There is not really much left to do. The plane is ready to fly, but the bureaucracy drives me crazy. I am waiting for my reviewer …
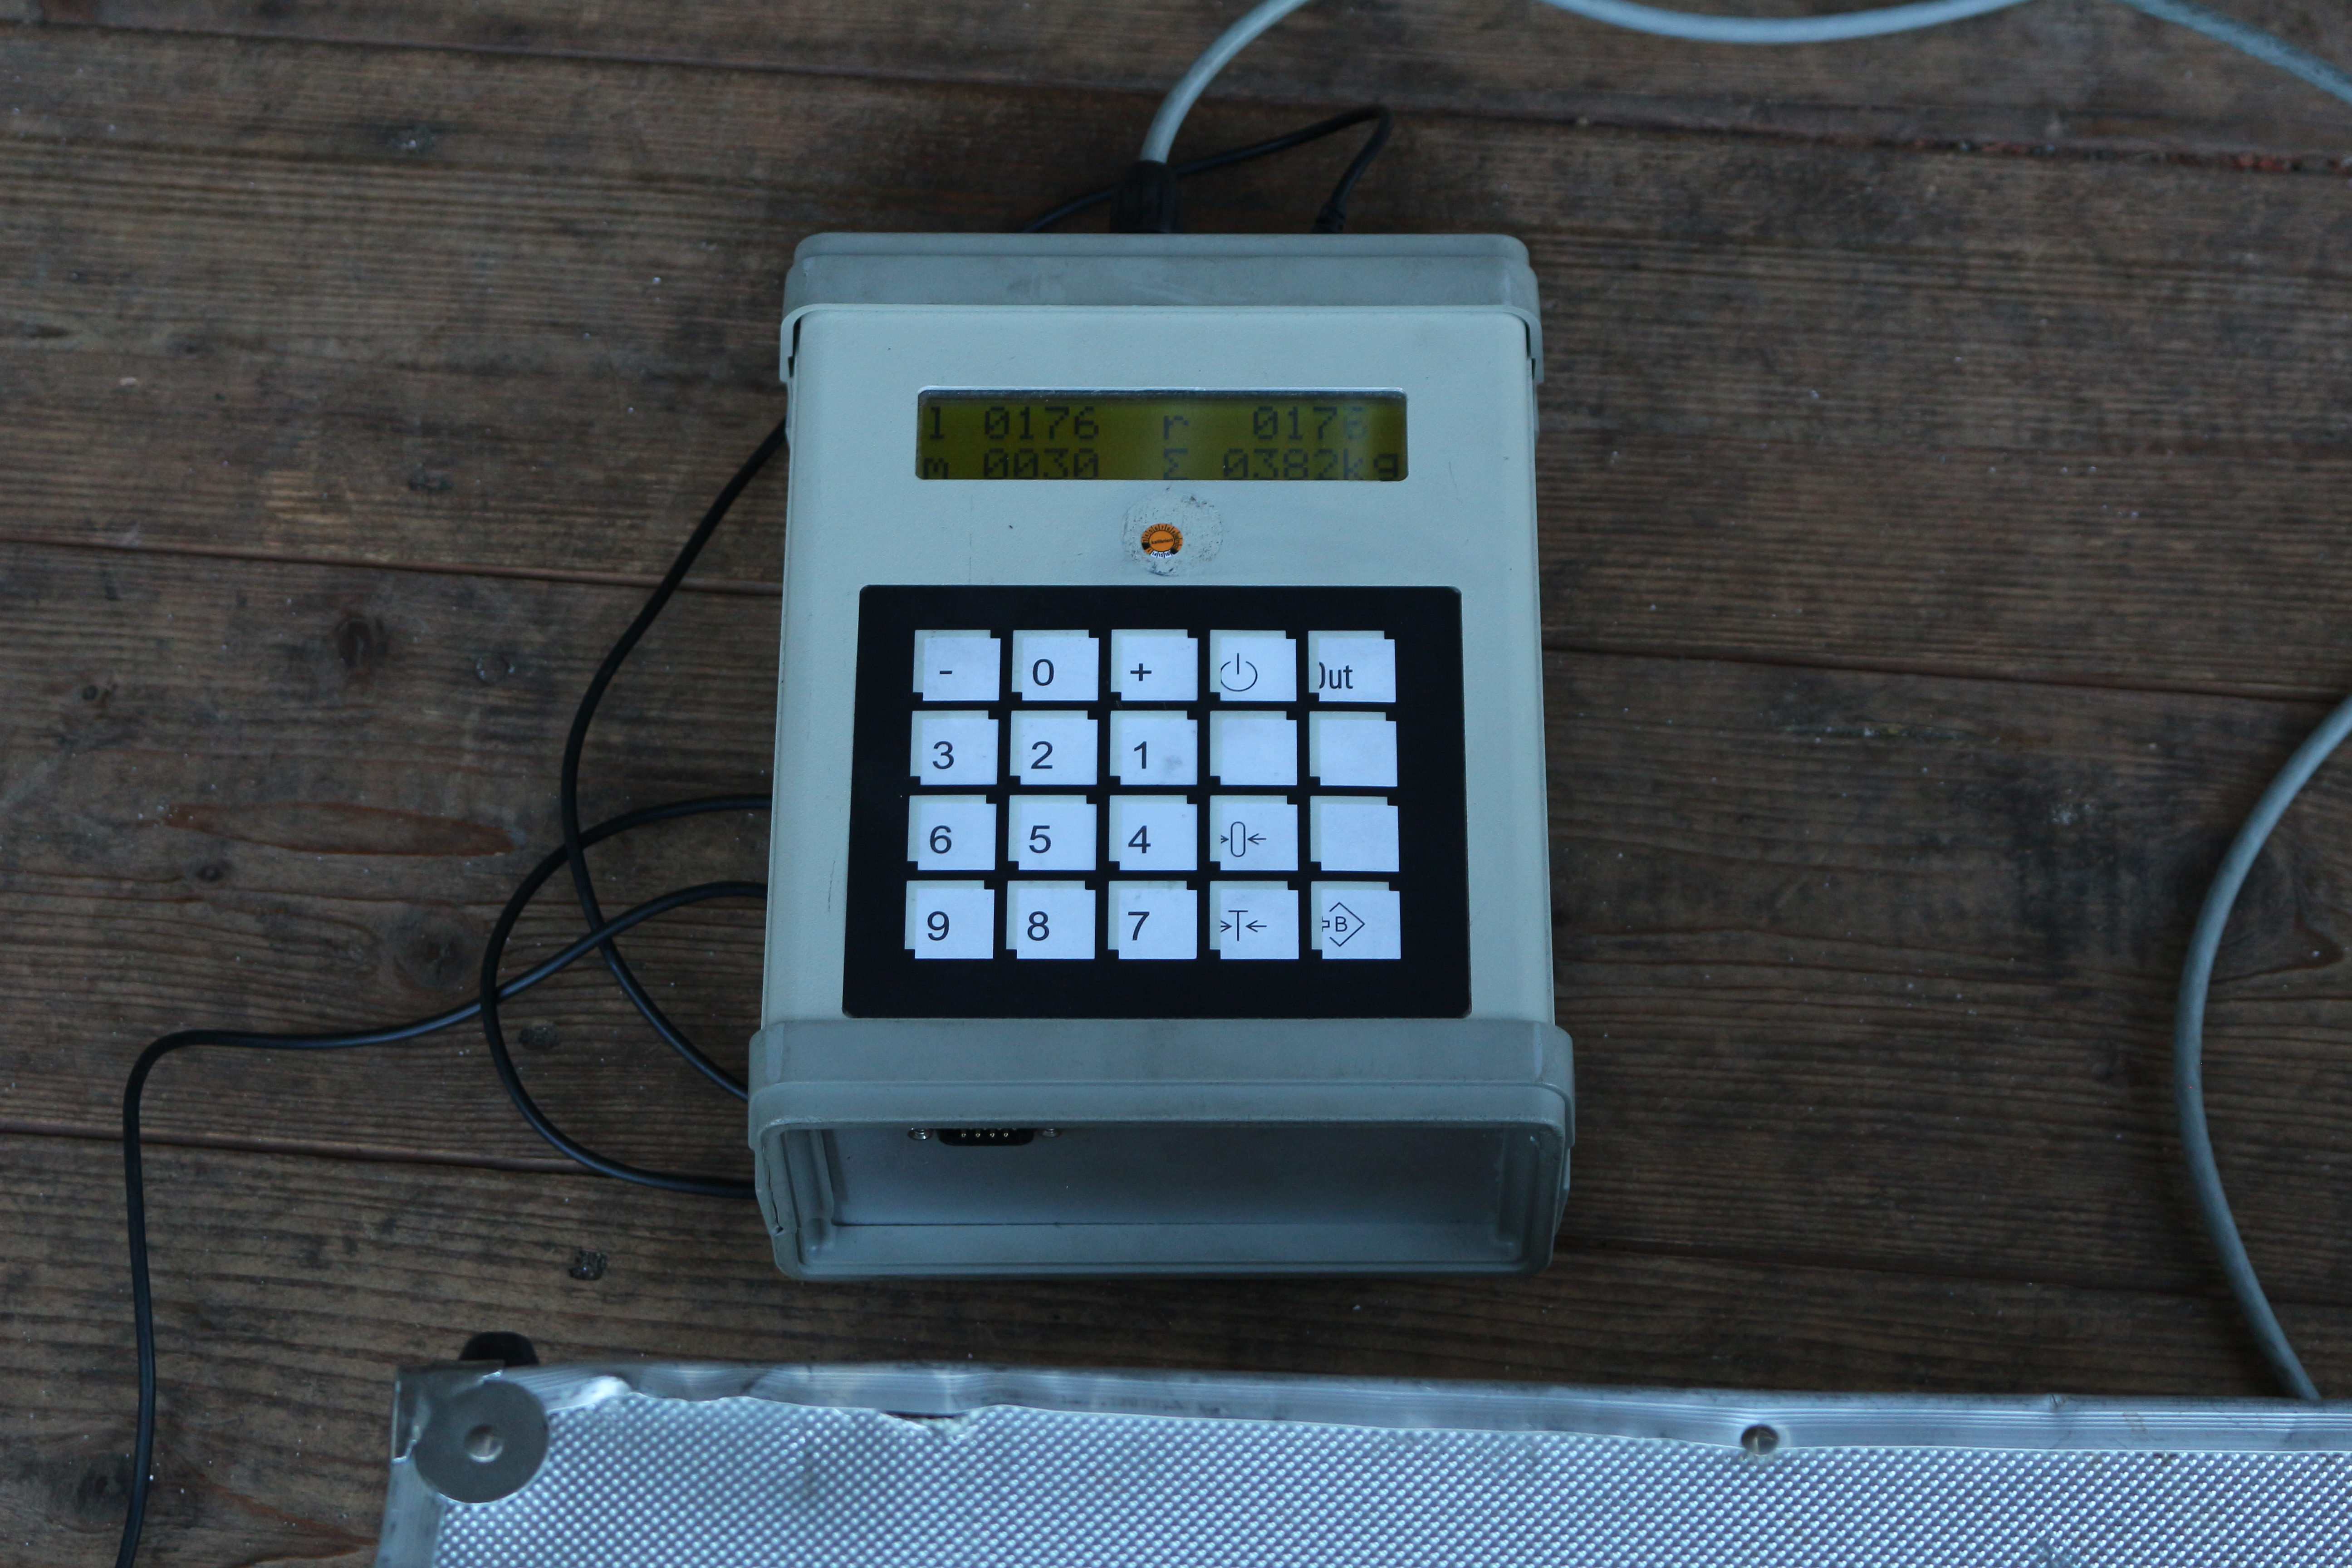
With support from the local aircraft works, I did the weighing of the Rebel this morning. I am quite happy with the results: Although I installed a ballistic recovery system …
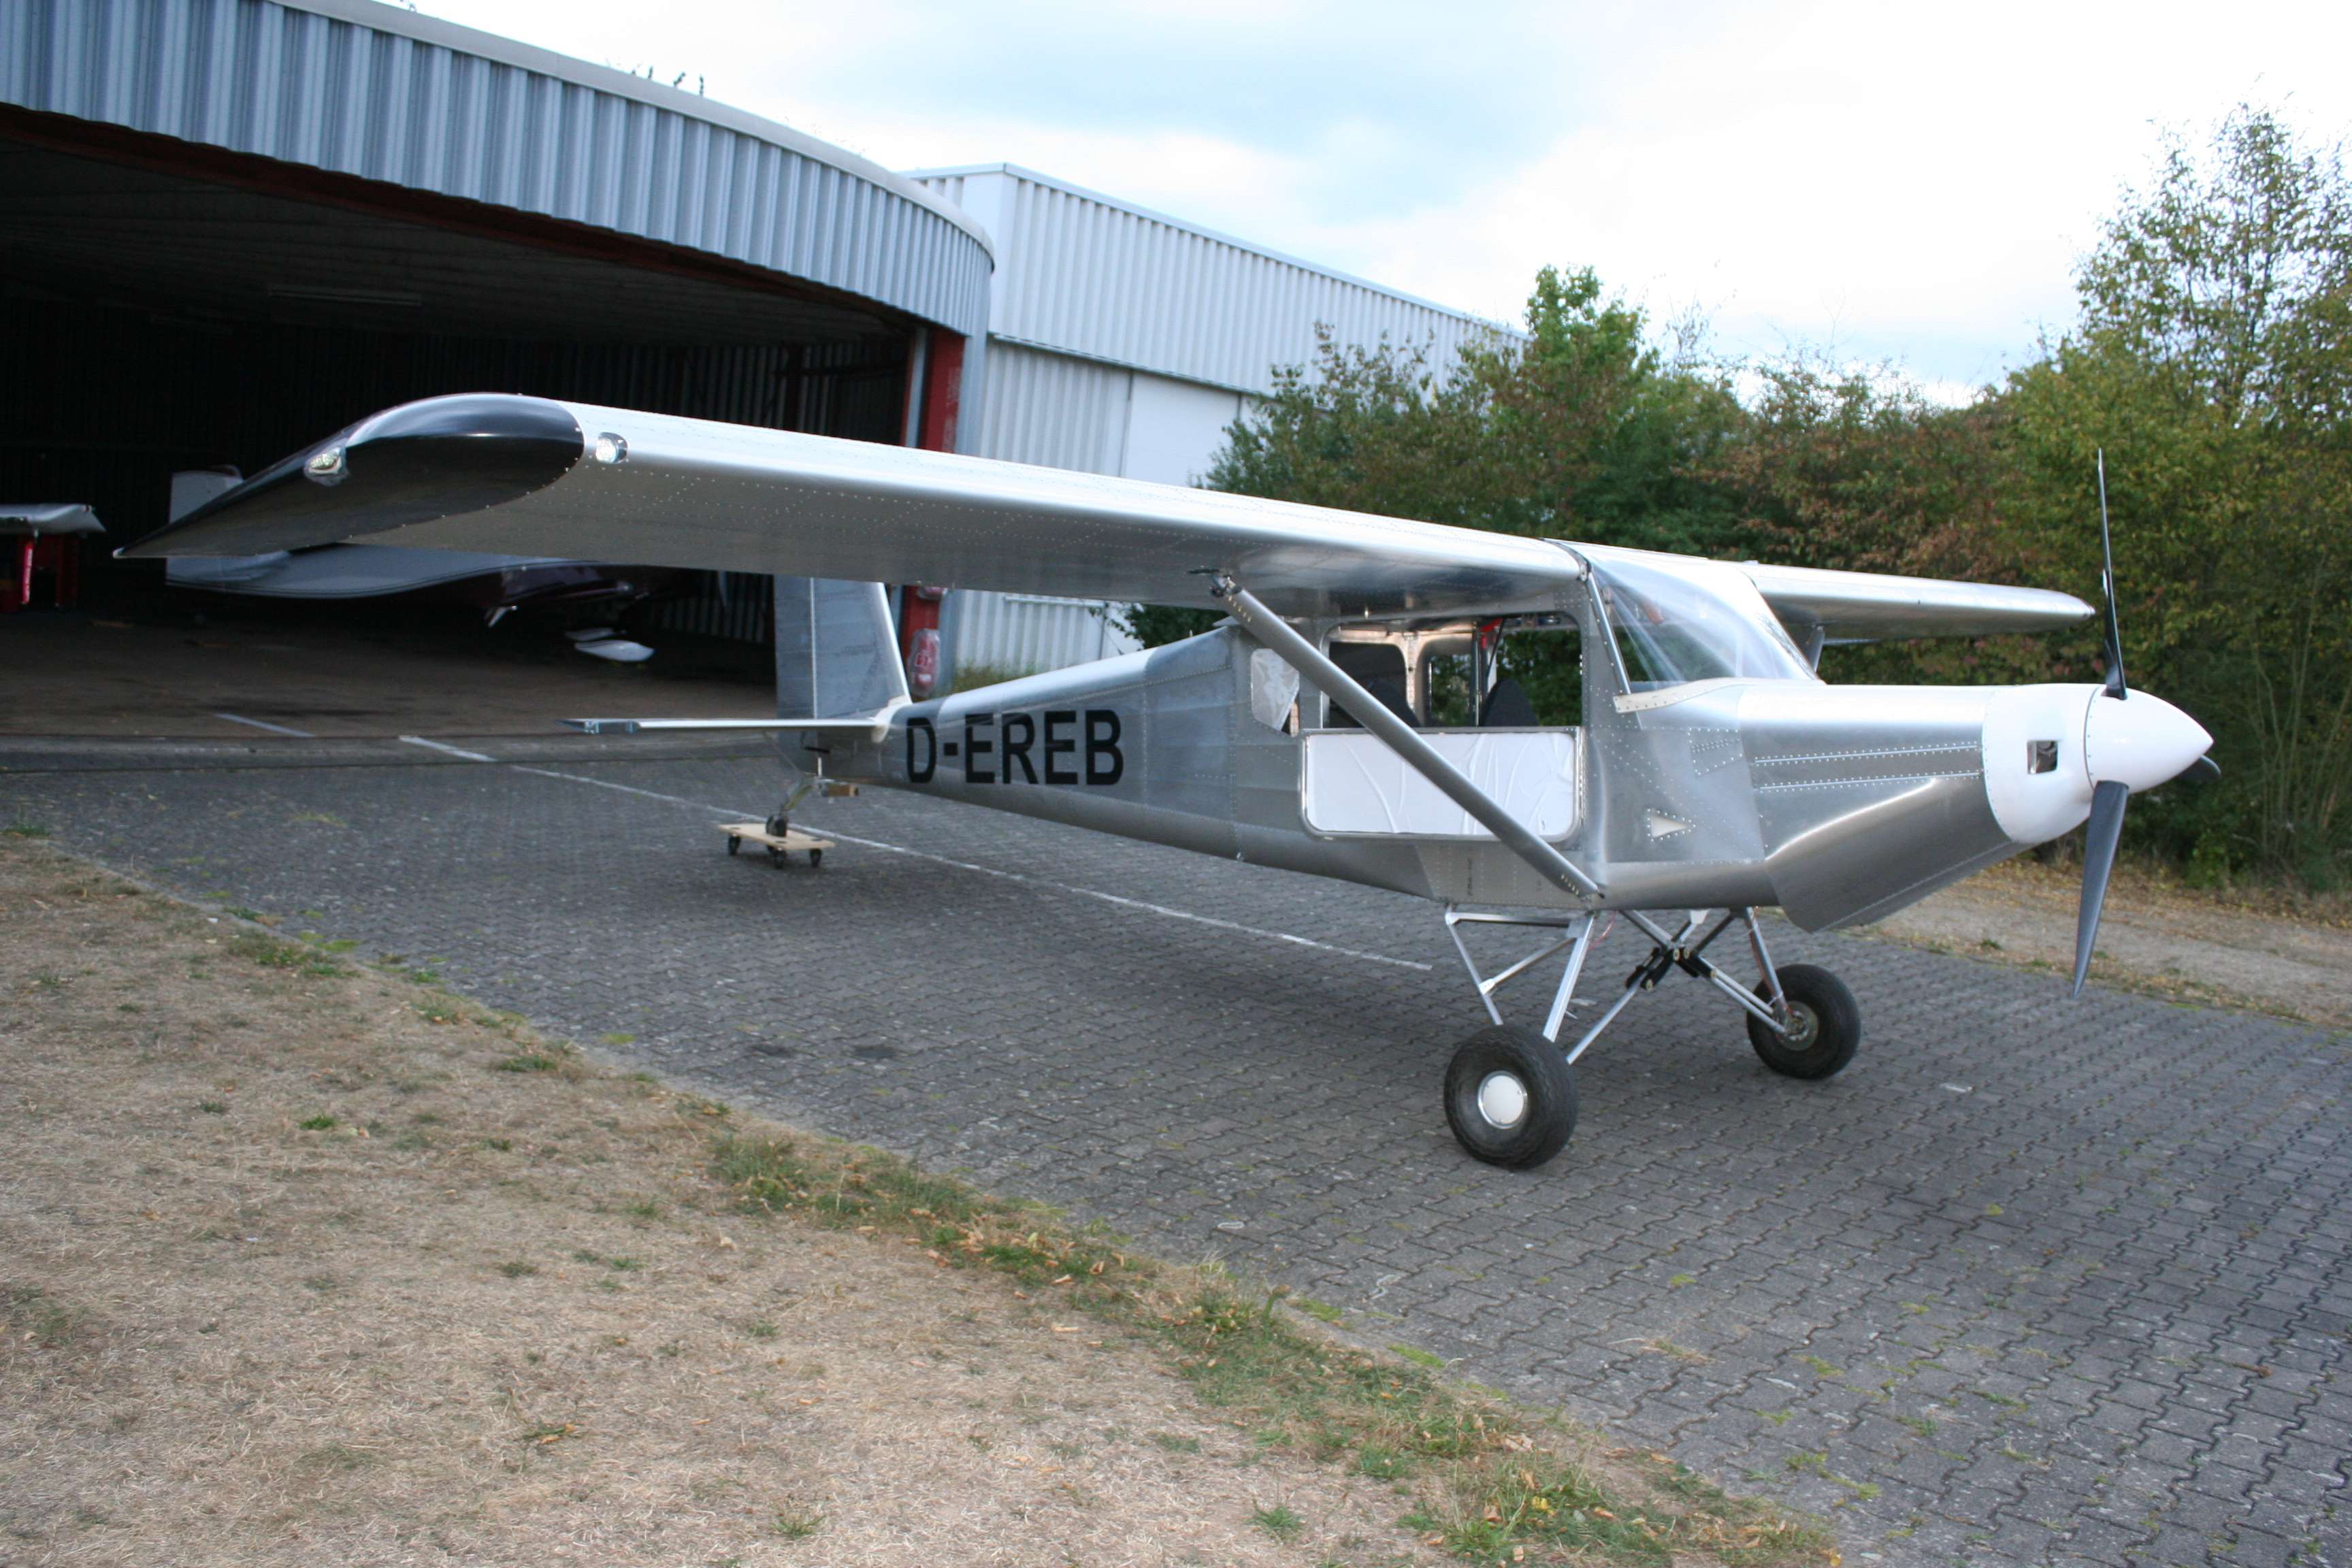
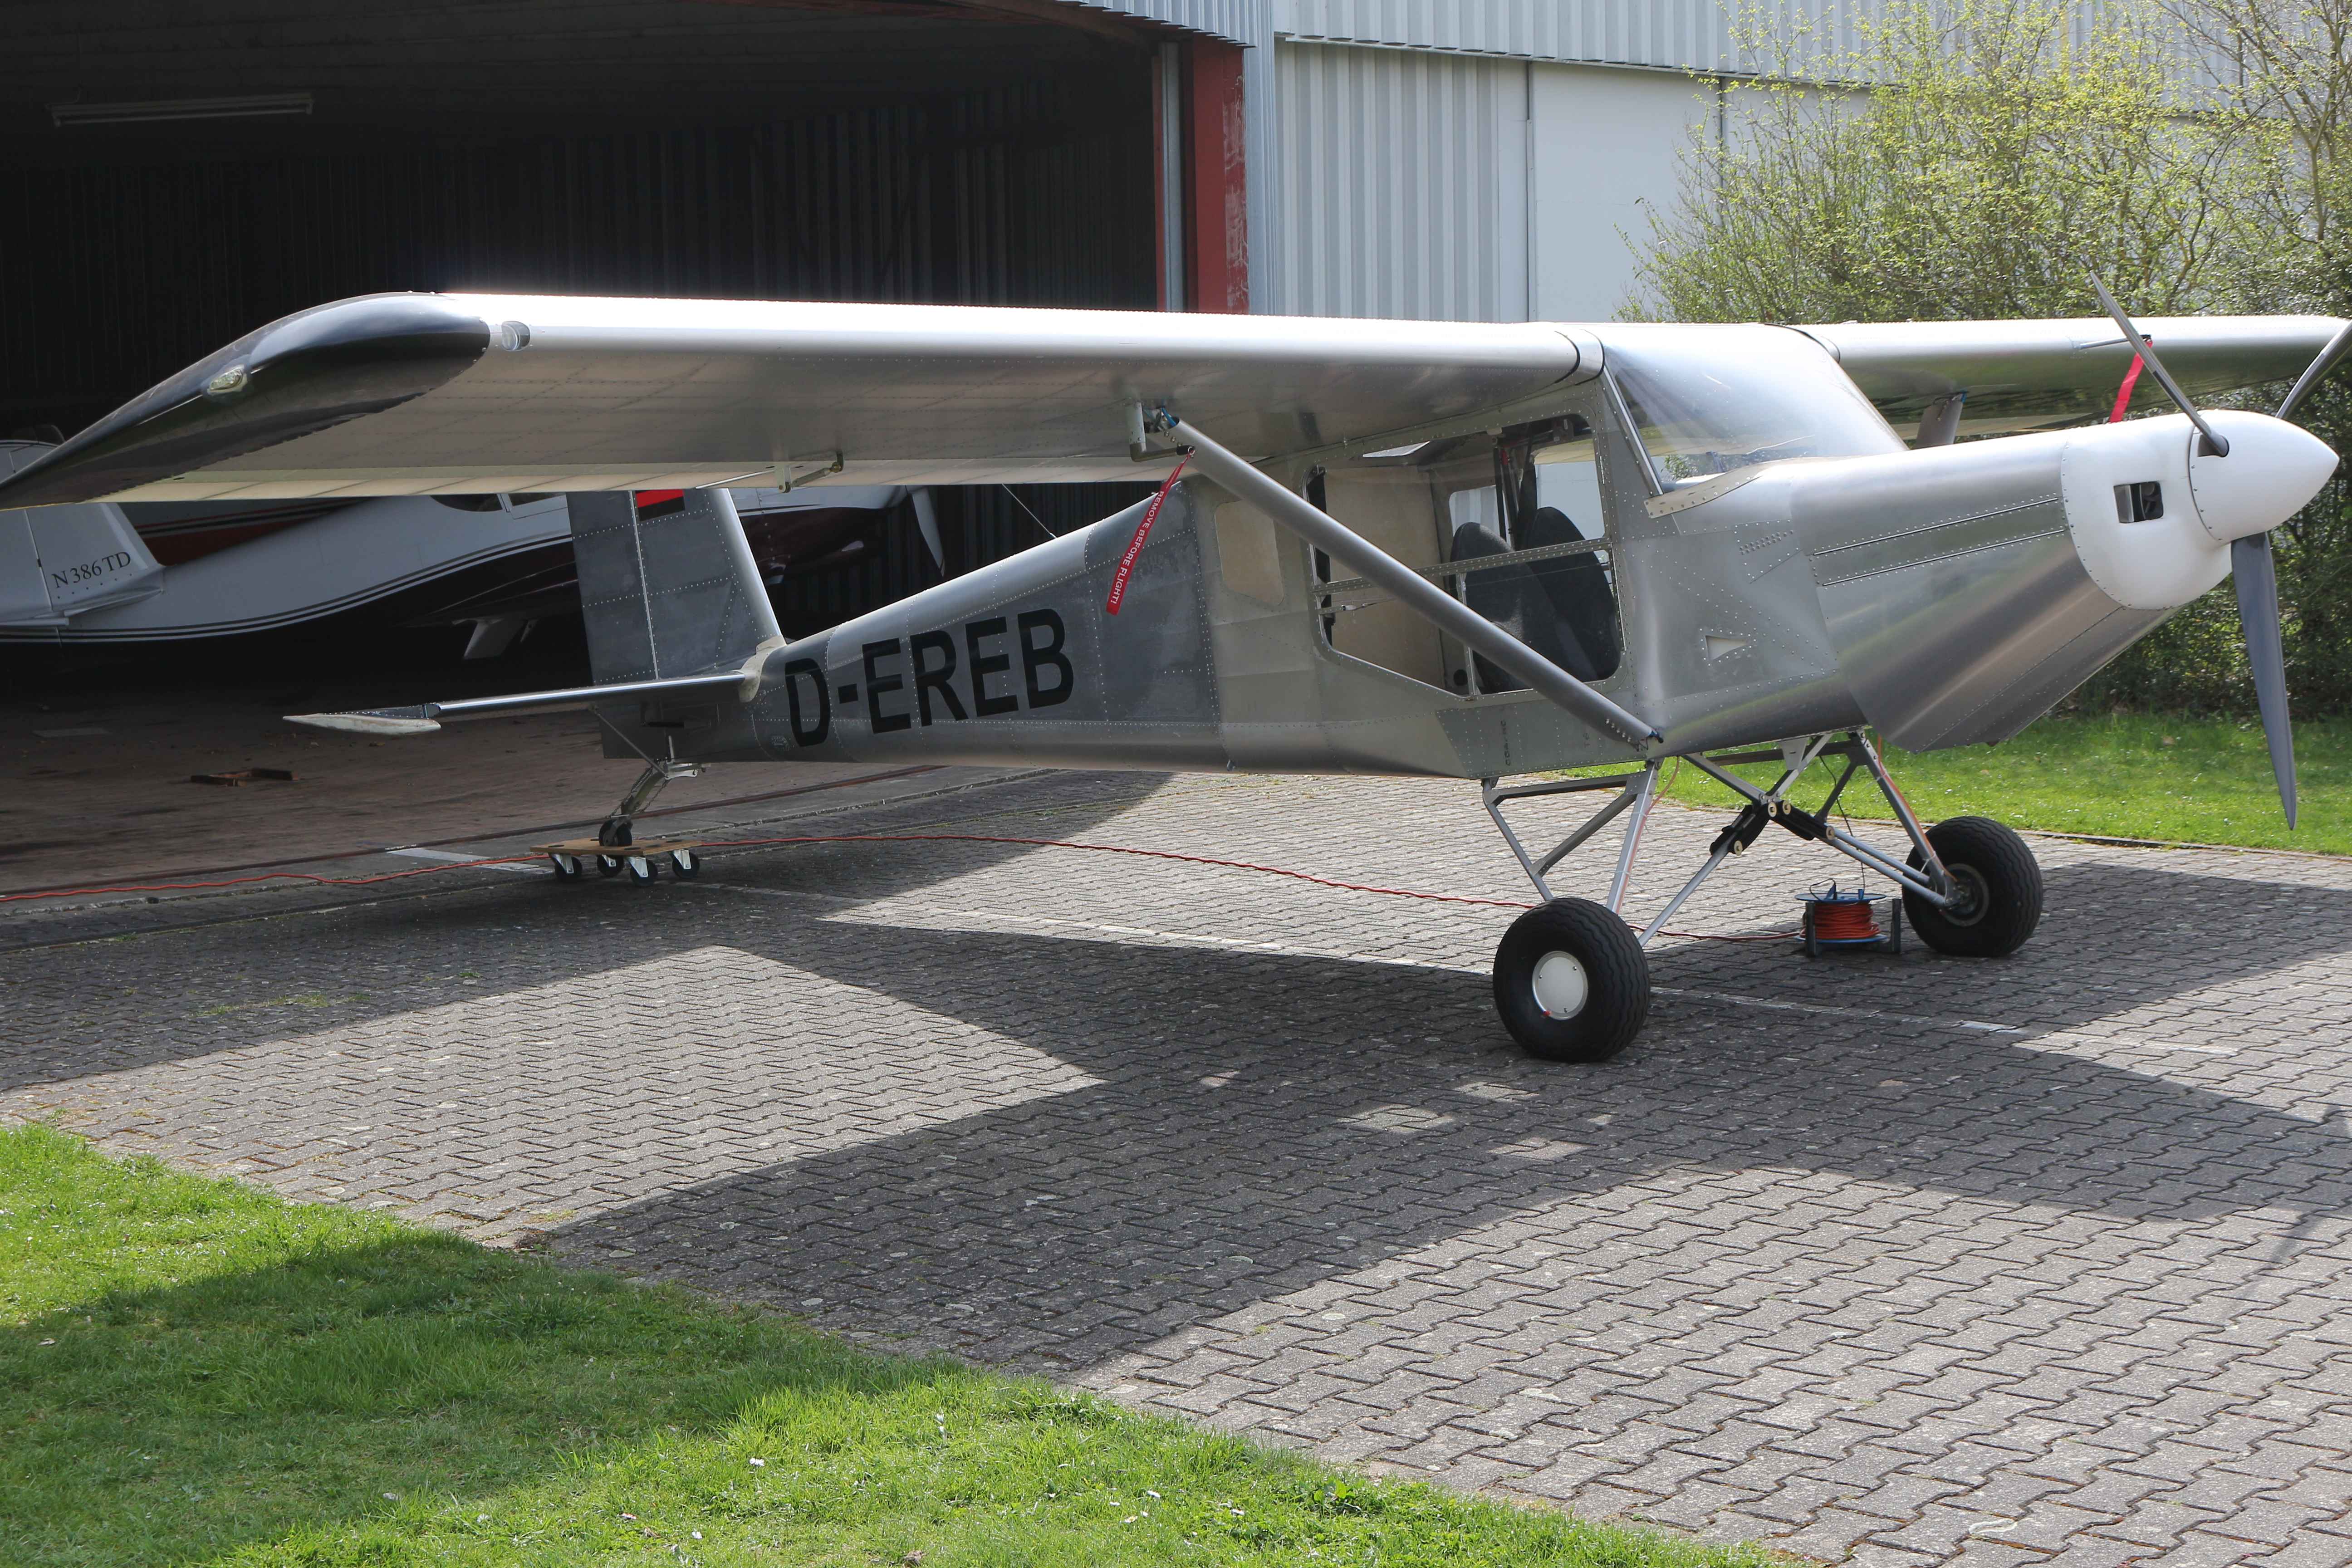
We reserved a registration number for the Rebel: D-EREB. We used a printed foil to put the numbers on the plane. The plane will be painted later, but to …
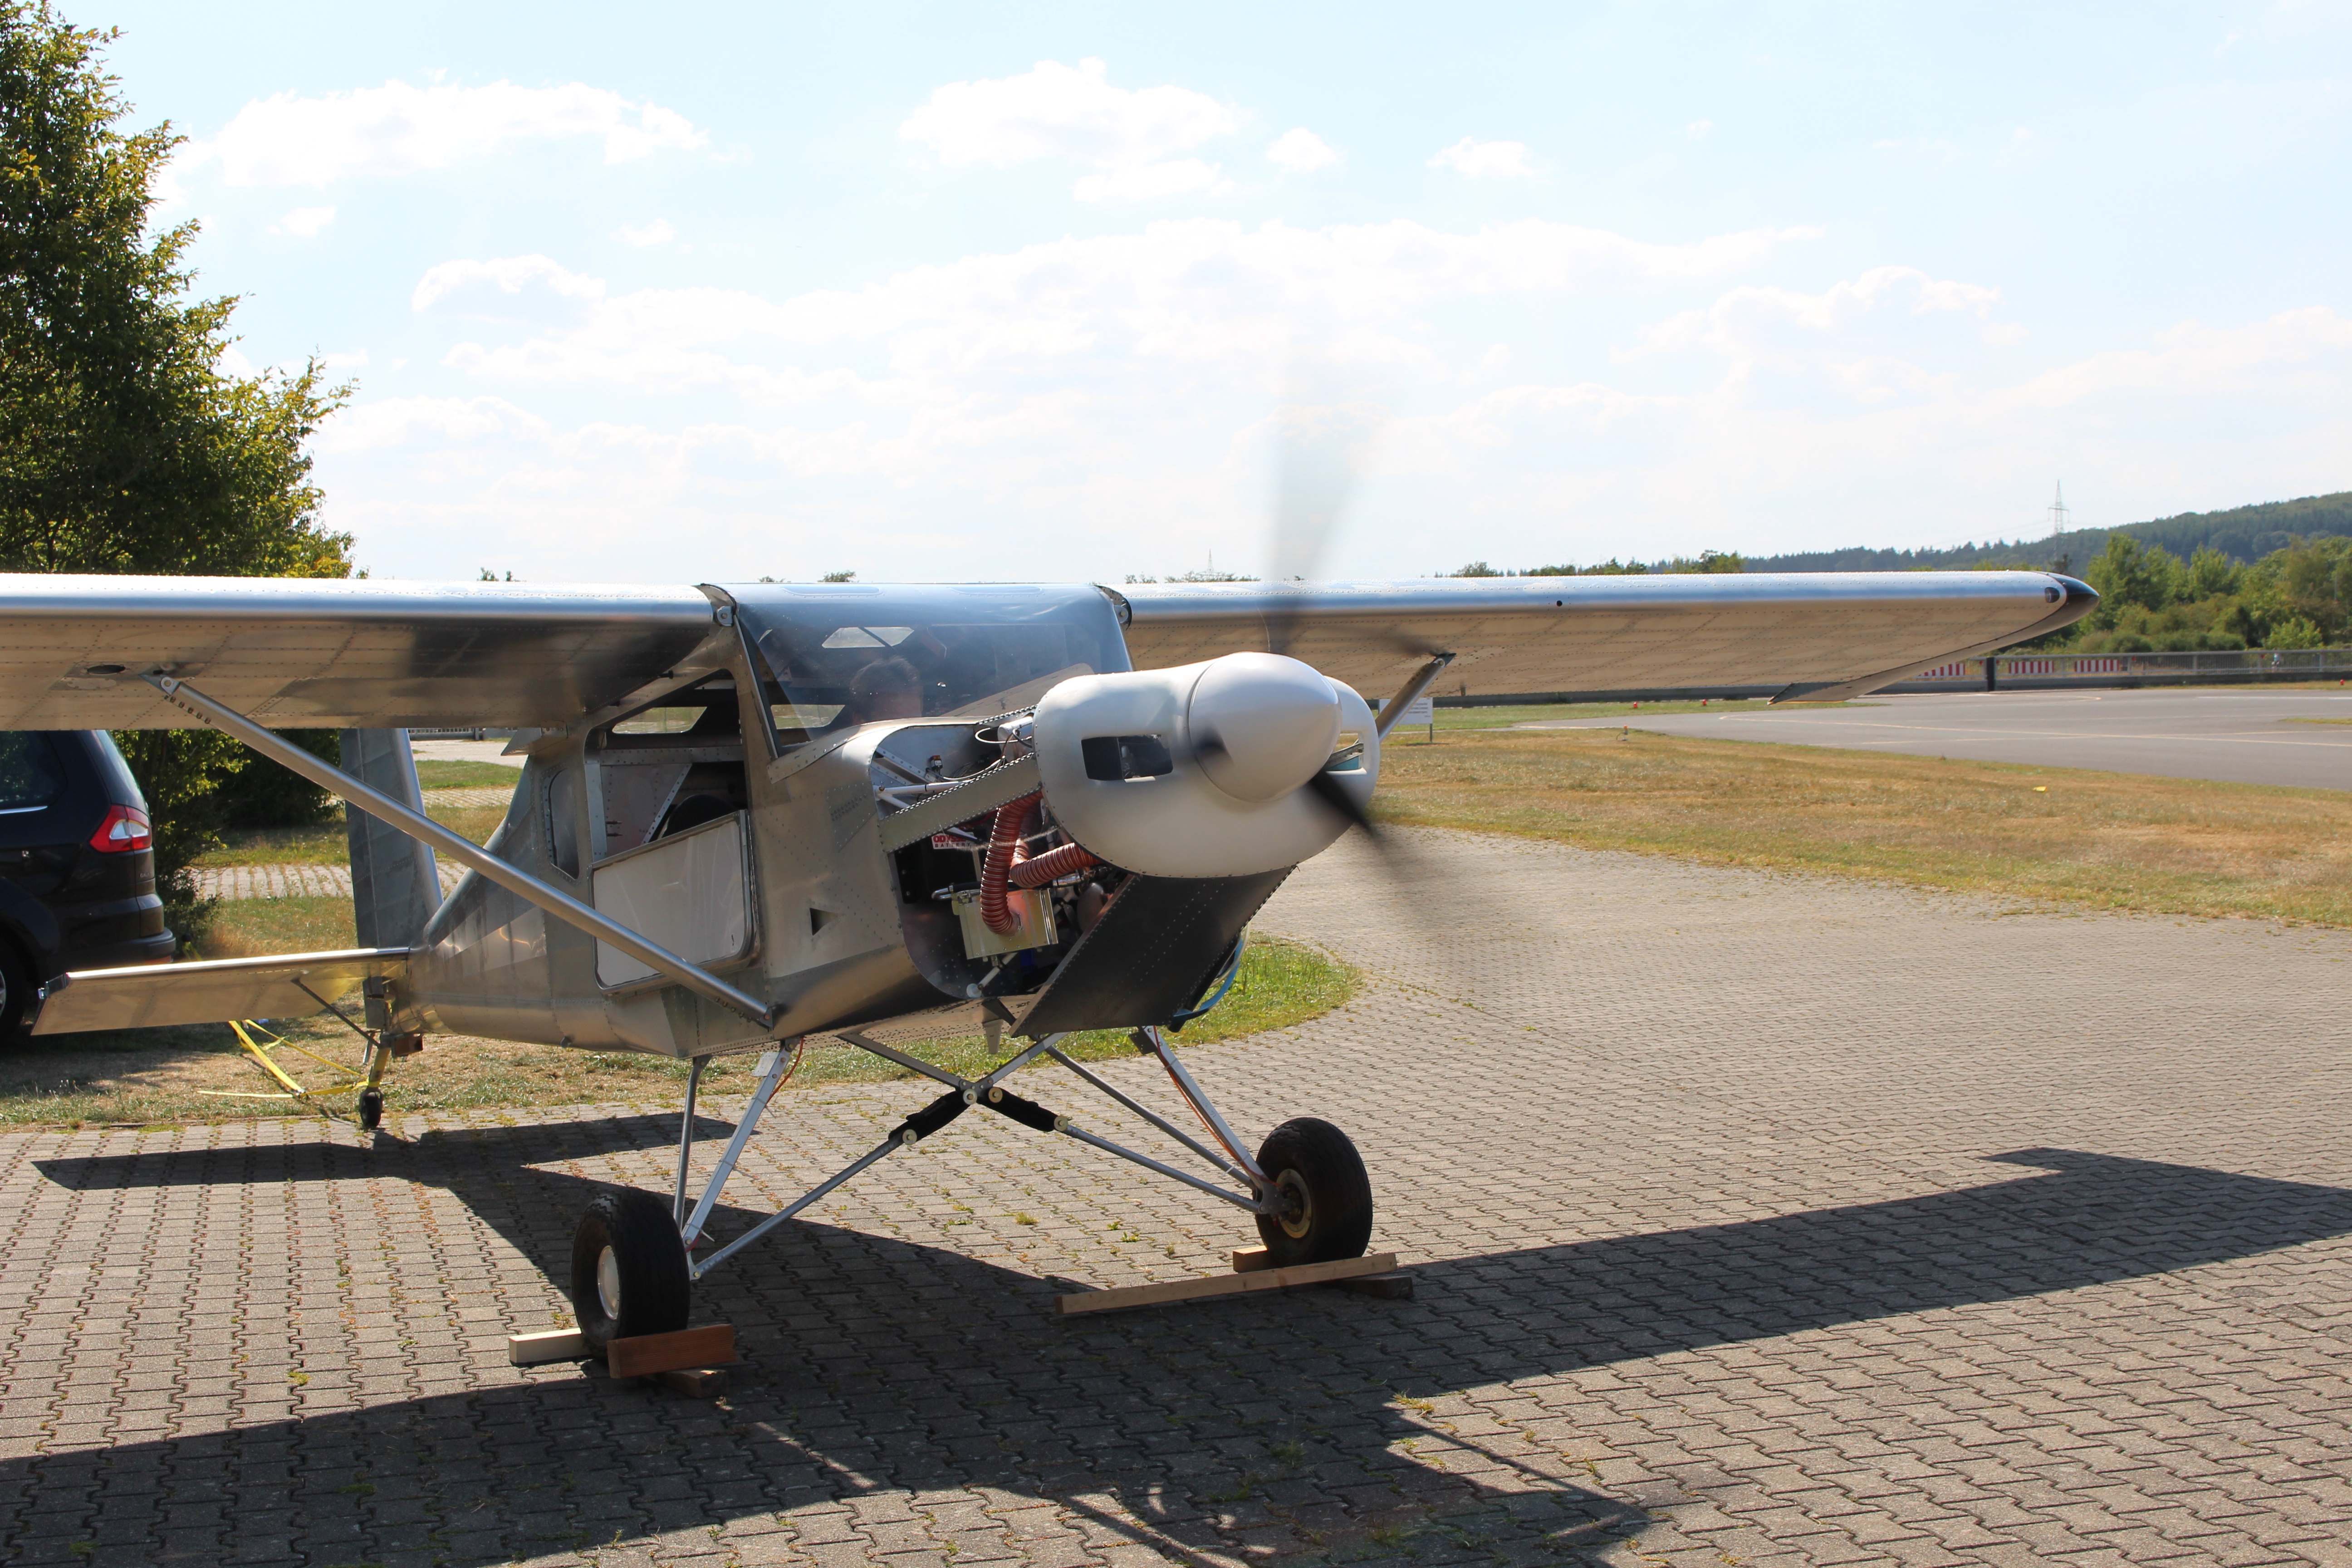
A great day today! The engine was started for the first time. It all went perfect. The engine started immediately. All engine values showed absolutely great values. Several security precautions …
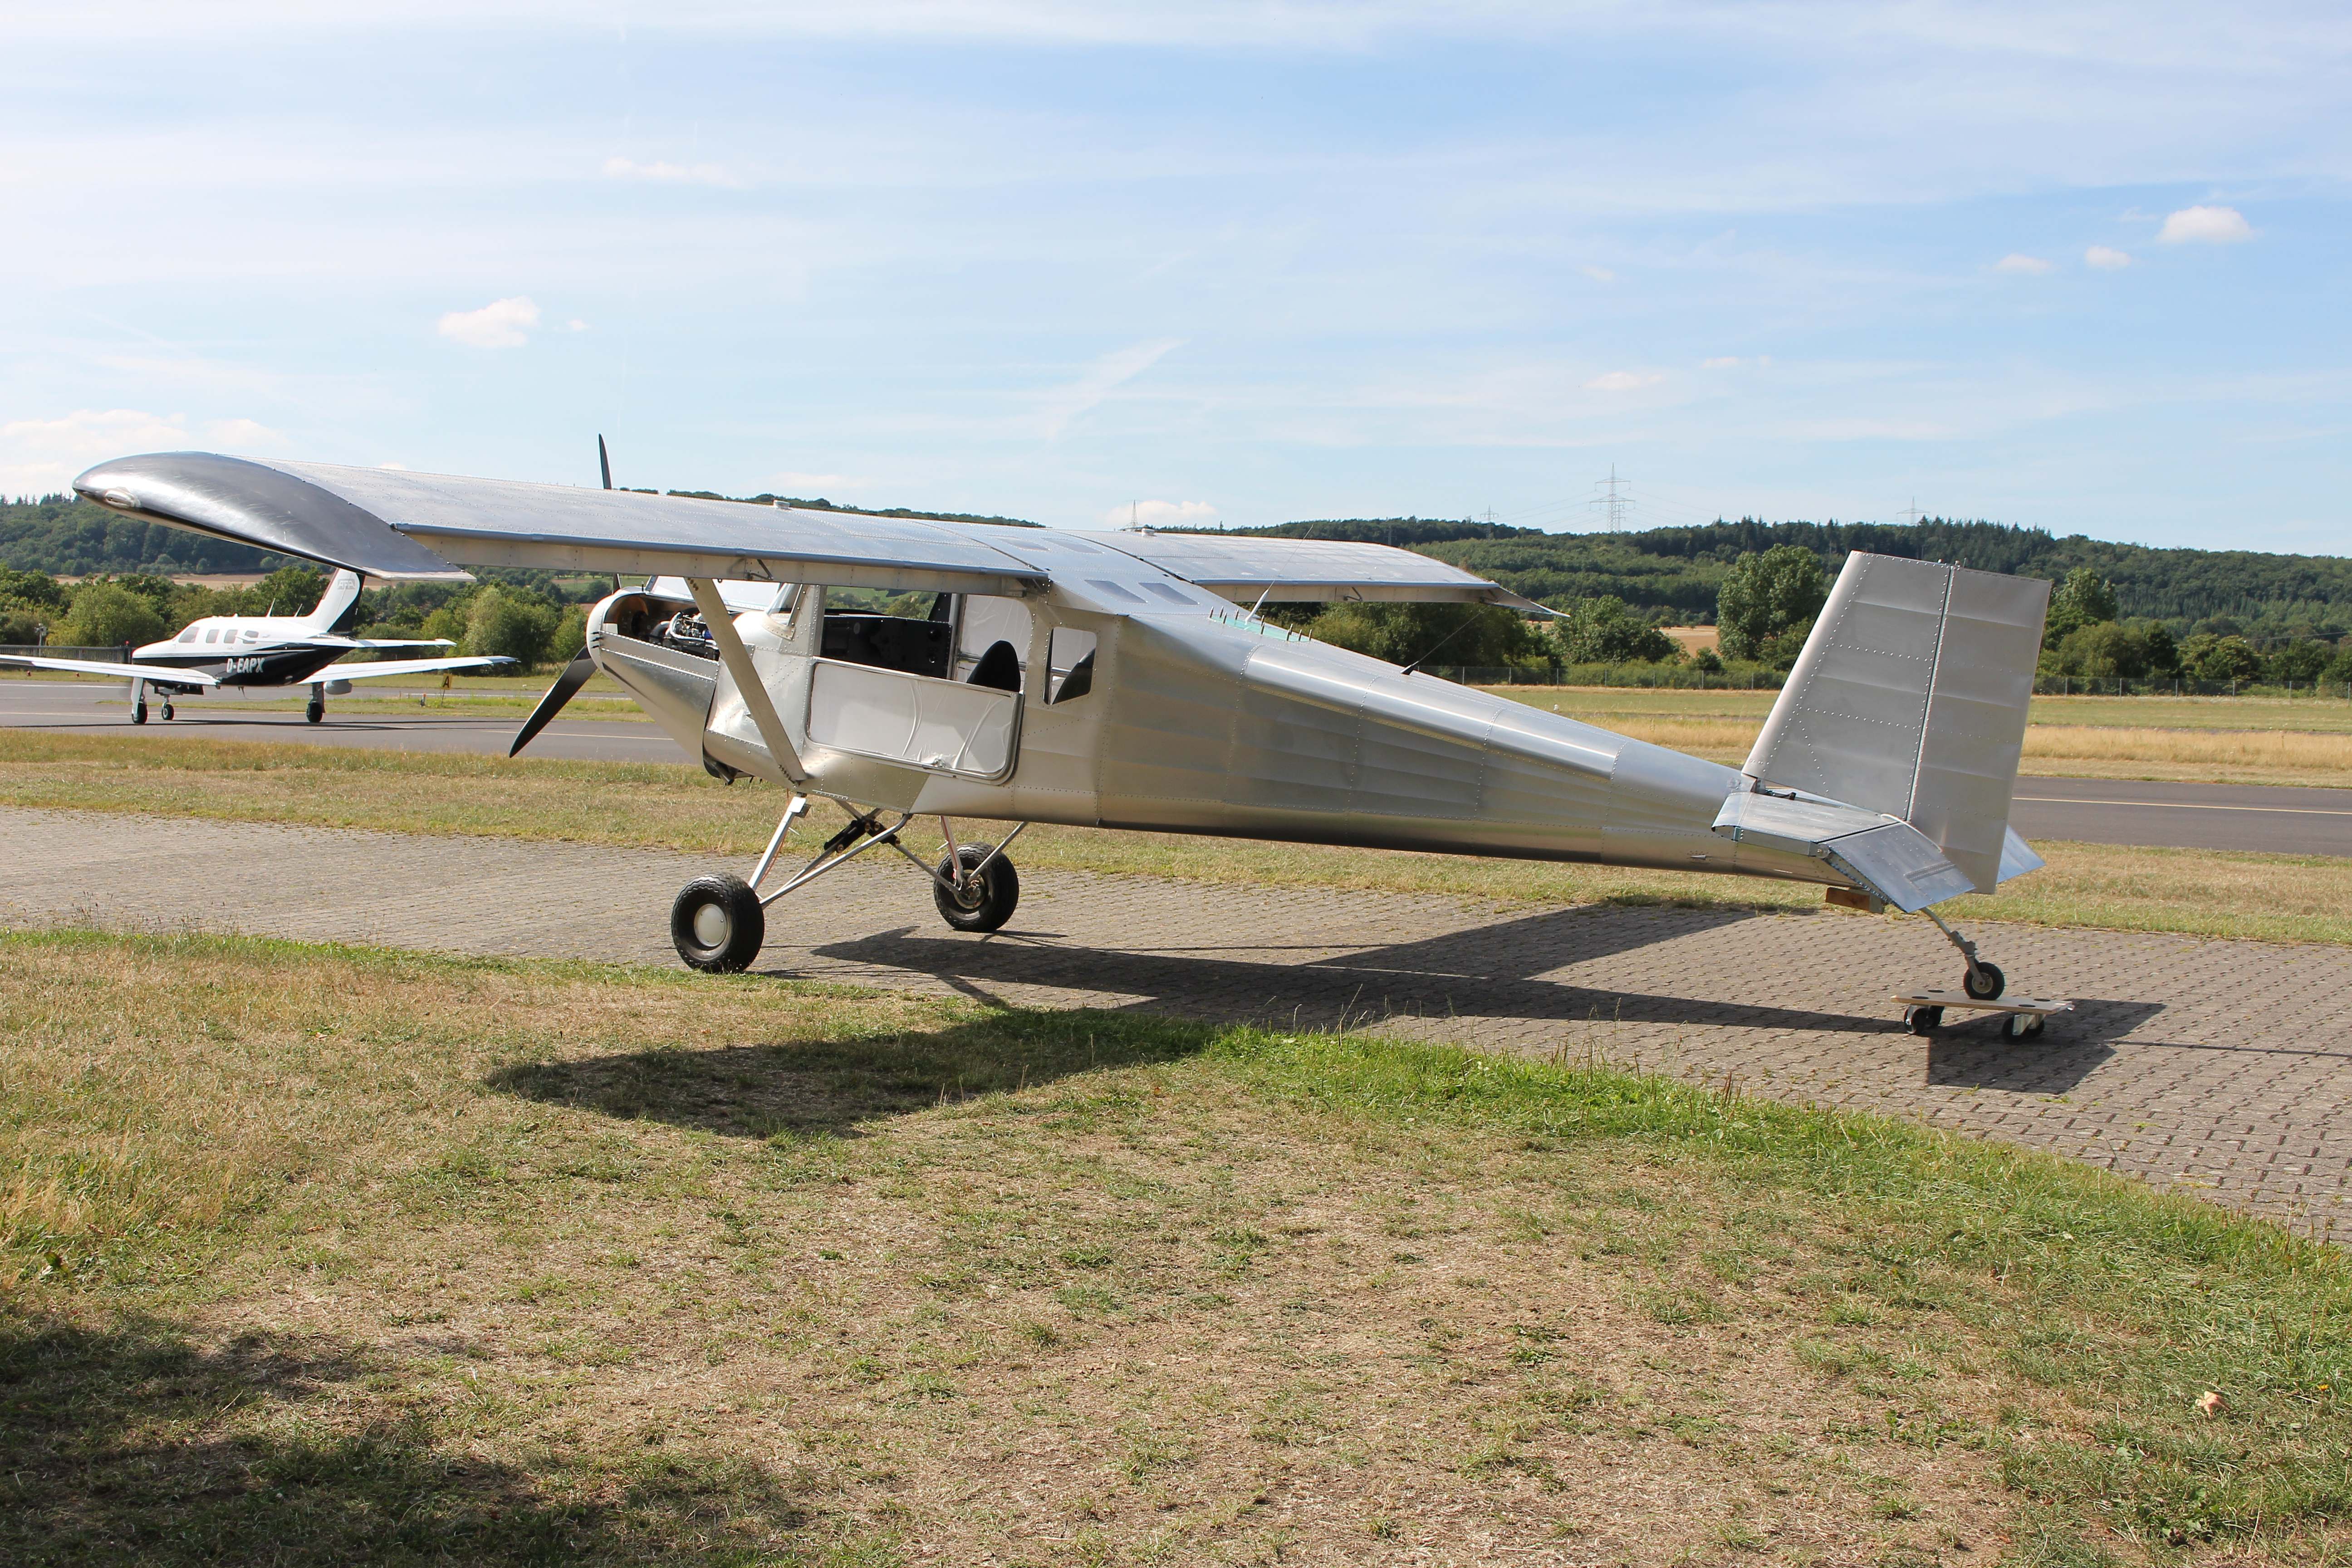
Fuselage, wings, wing tips and tail unit were put together at the airport. Now it looks like a true airplane, ready to start off in the air. But a lot …
Same trailer was used to transport the wings to the airport hangar. It was only possible to carry one wing at once. In any case it was a safe position …
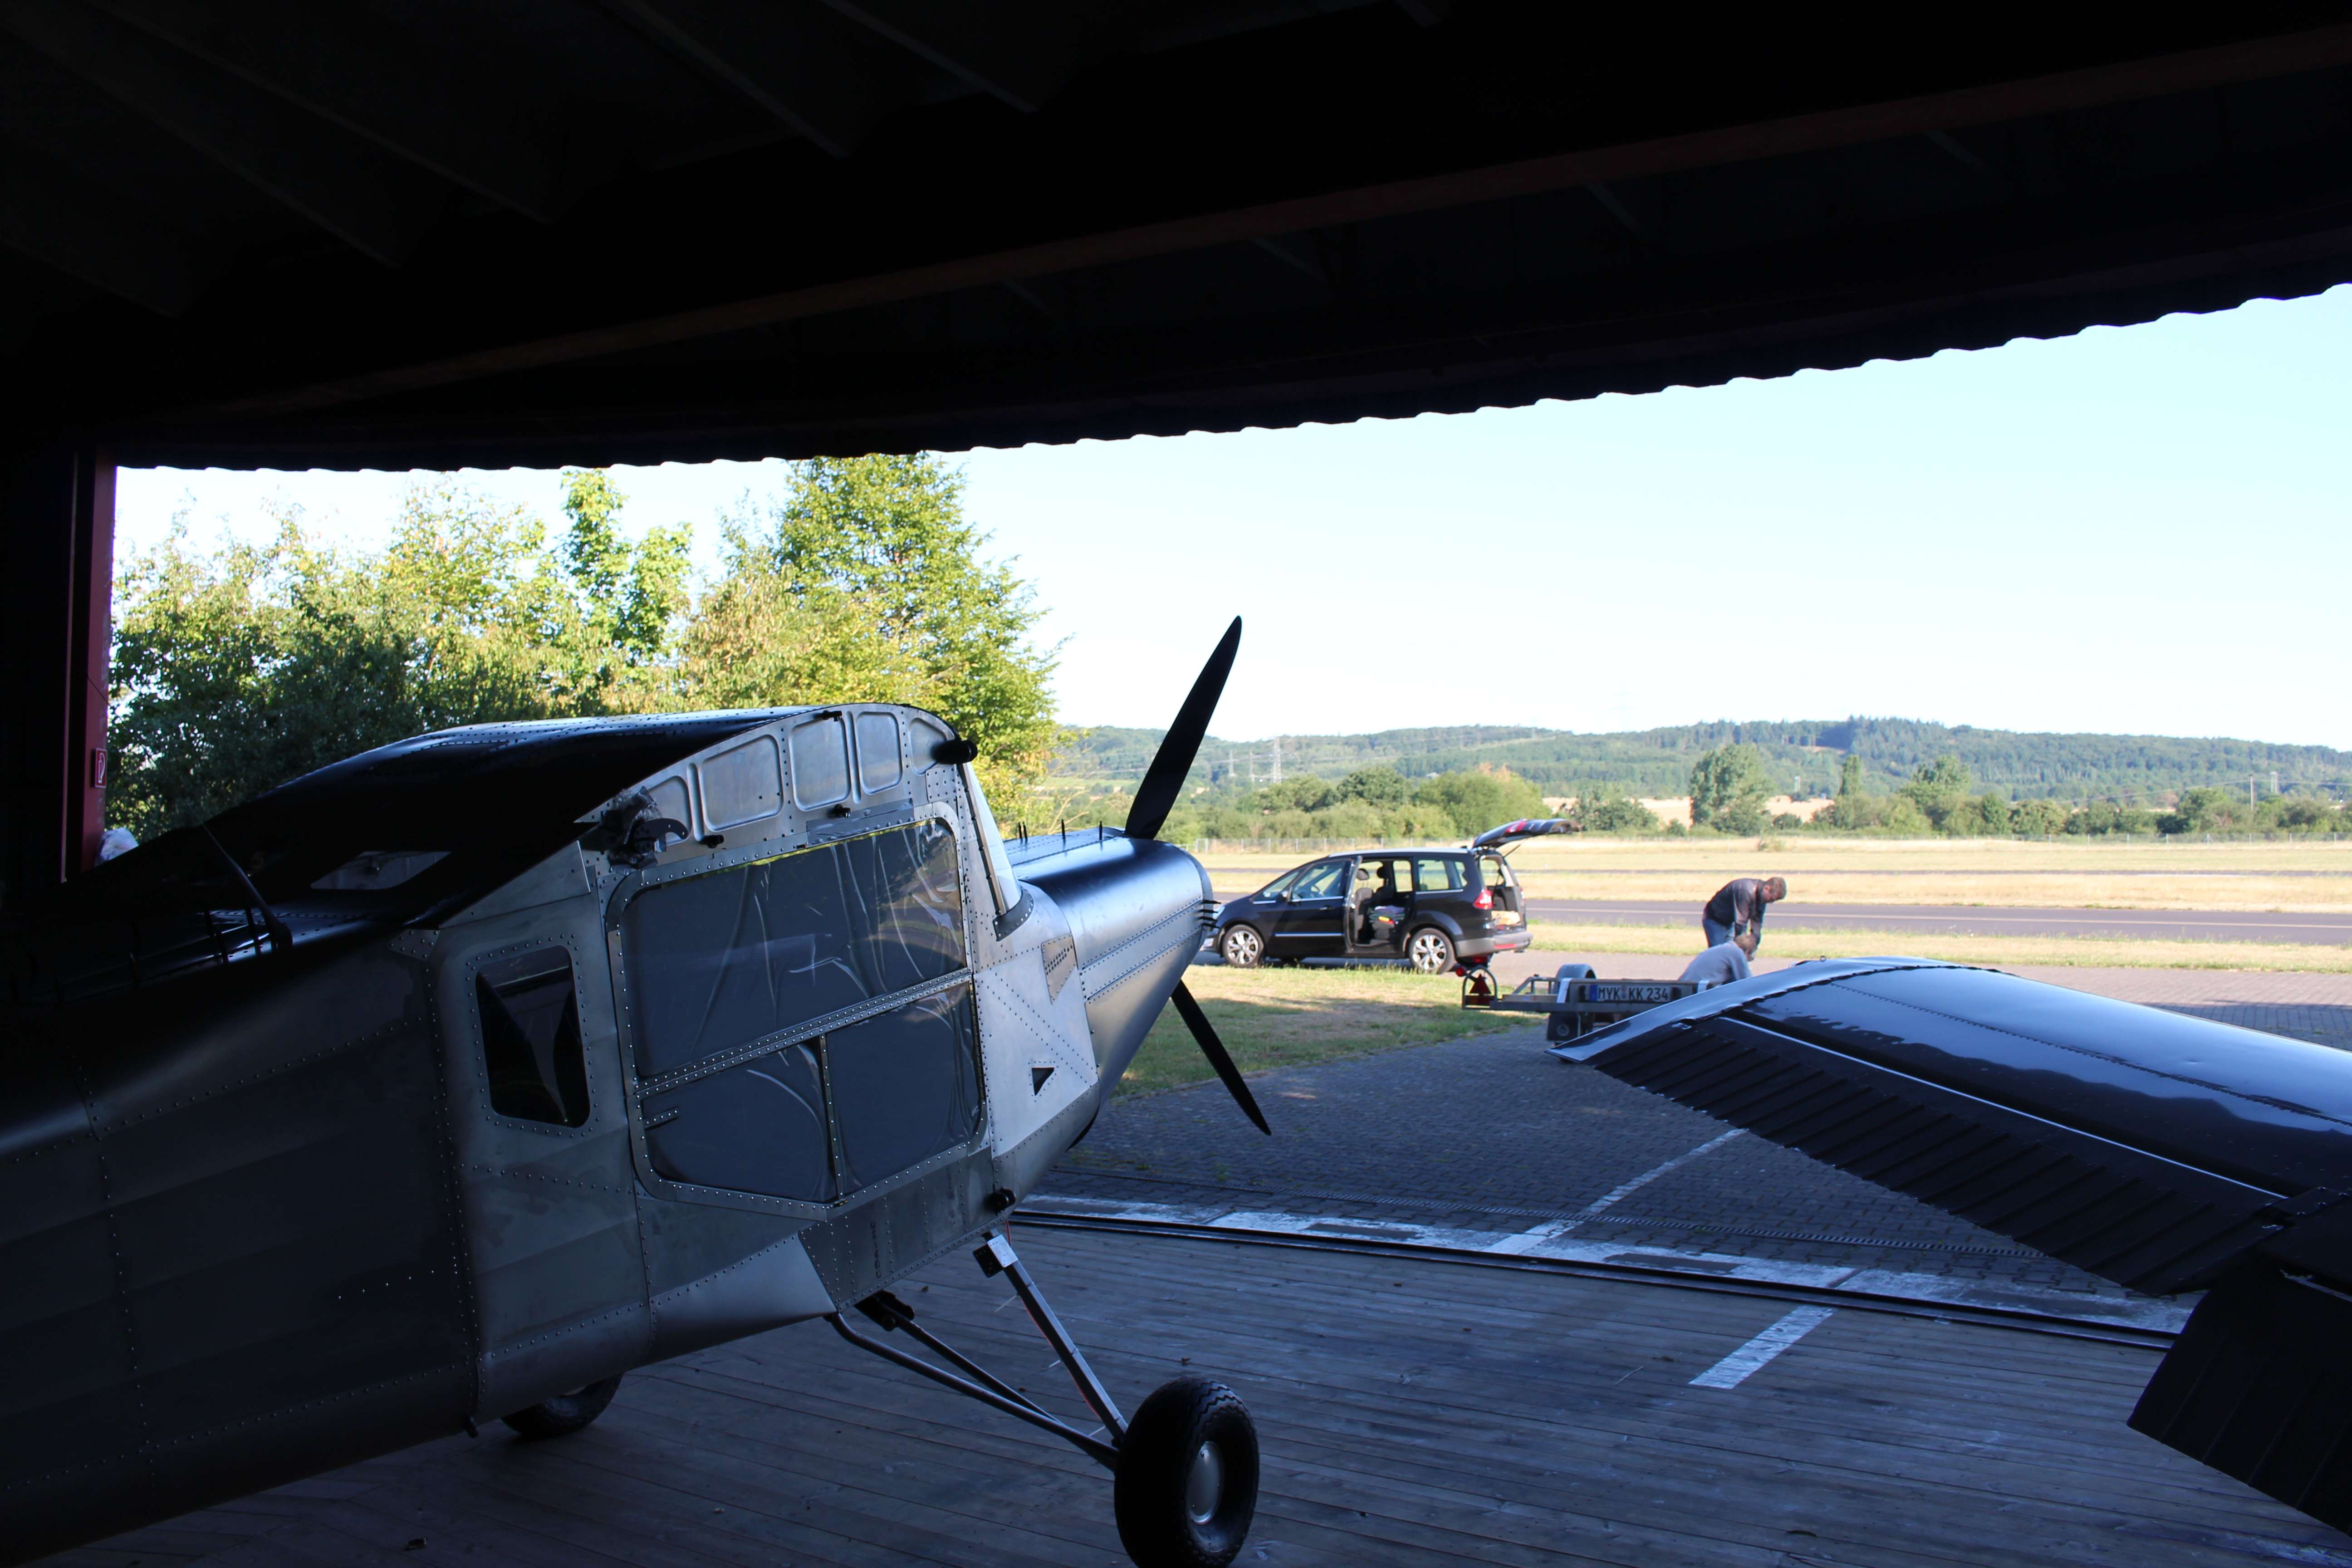
This is the new home of the airplane in the hangar at EDRK. The hangar has a rotary ground, so putting it out is easy.
Rolling off at the airport. We build a special ramp and it was an easy job rolling the fuselage down the trailer.
We had a safe arrival at the airport Koblenz (EDRK). Fuselage was absolutely stable on the trailer and didn’t move at all.
An important date today: Fuselage is transported to the airport. We could use a trailer from a member of our aeroclub. The trailer is 9 m long and really good …
Trailer is prepared for the transport. It is a big trailer, nevertheless needs some additional installations to put the wheels on. Crane was very helpful to get the fuselage on …
Having a crane available in the workshop, I put the Rebel to the expected maximum positive angle of attack. So I put it into 15,5 degree positive angle …
Seats are ready. A local upholstery did it for us. We took care they are not too thick, cause I am very tall. Otherwise I couldn’t have an easy look …
I was not to happy with the aluminum version of the front fairing. I think aerodynamically it is not the best solution. So we started to fabricate the front fairing …
This is the fairing on the underside of the elevator.
Some details still have to be done. One of this is the tail fairings. Picture shows the elevator fairing made from aluminum. This fairing part is not so easy to …
Our youngest son Christian developed a new design proposal for our rebel. We like this design.
The teakwood grip really looks cool inside the cockpit. It was a good idea and is probably much better than any plastic piece. And we are sure to have a …
My wife wants a nice grip for the steering stick. I preferred a simple plastic version, but in the end (of course) we decided to go for a wooden grip. …
The picture shows the epoxy system we used, all from R&G Faserverbundstoffe. Good stuff, probably much better than necessary for the simple, unstructural parts we had to make.
With the help of a fellow builder Nik, we sketched our first design proposal. We plan the Rebel mostly in silver with red stripes.
Today I first used one of these ancient drill presses. These are wonderful. Absolutely precise, no moving of parts like in my new one. You only need to take care …
Also I have a crane in the new workshop. This is a versatile tool. Movable electrical in all directions all over the workshop. It can lift up to 1000 kg. …
My new building location is a former mechanical engeneering workshop. Full of old tools. Sometimes you feel like in a museum. I now have 5 turning lathes available. All of …
Also the wings have to be moved. I used a former lumber trailer. It took both wings perfectly. The transport itself was not problem. Wings arrived without damage. …
Our building starts into a new phase. To be able to mount the wings, we had to move the airplane. The wings wouldn’t fit into our garage, so we moved …
This looks like a real fan shirt. In fact it was just by coincidence that Martin bought this shirt. I hope it still fits when he will fly the …